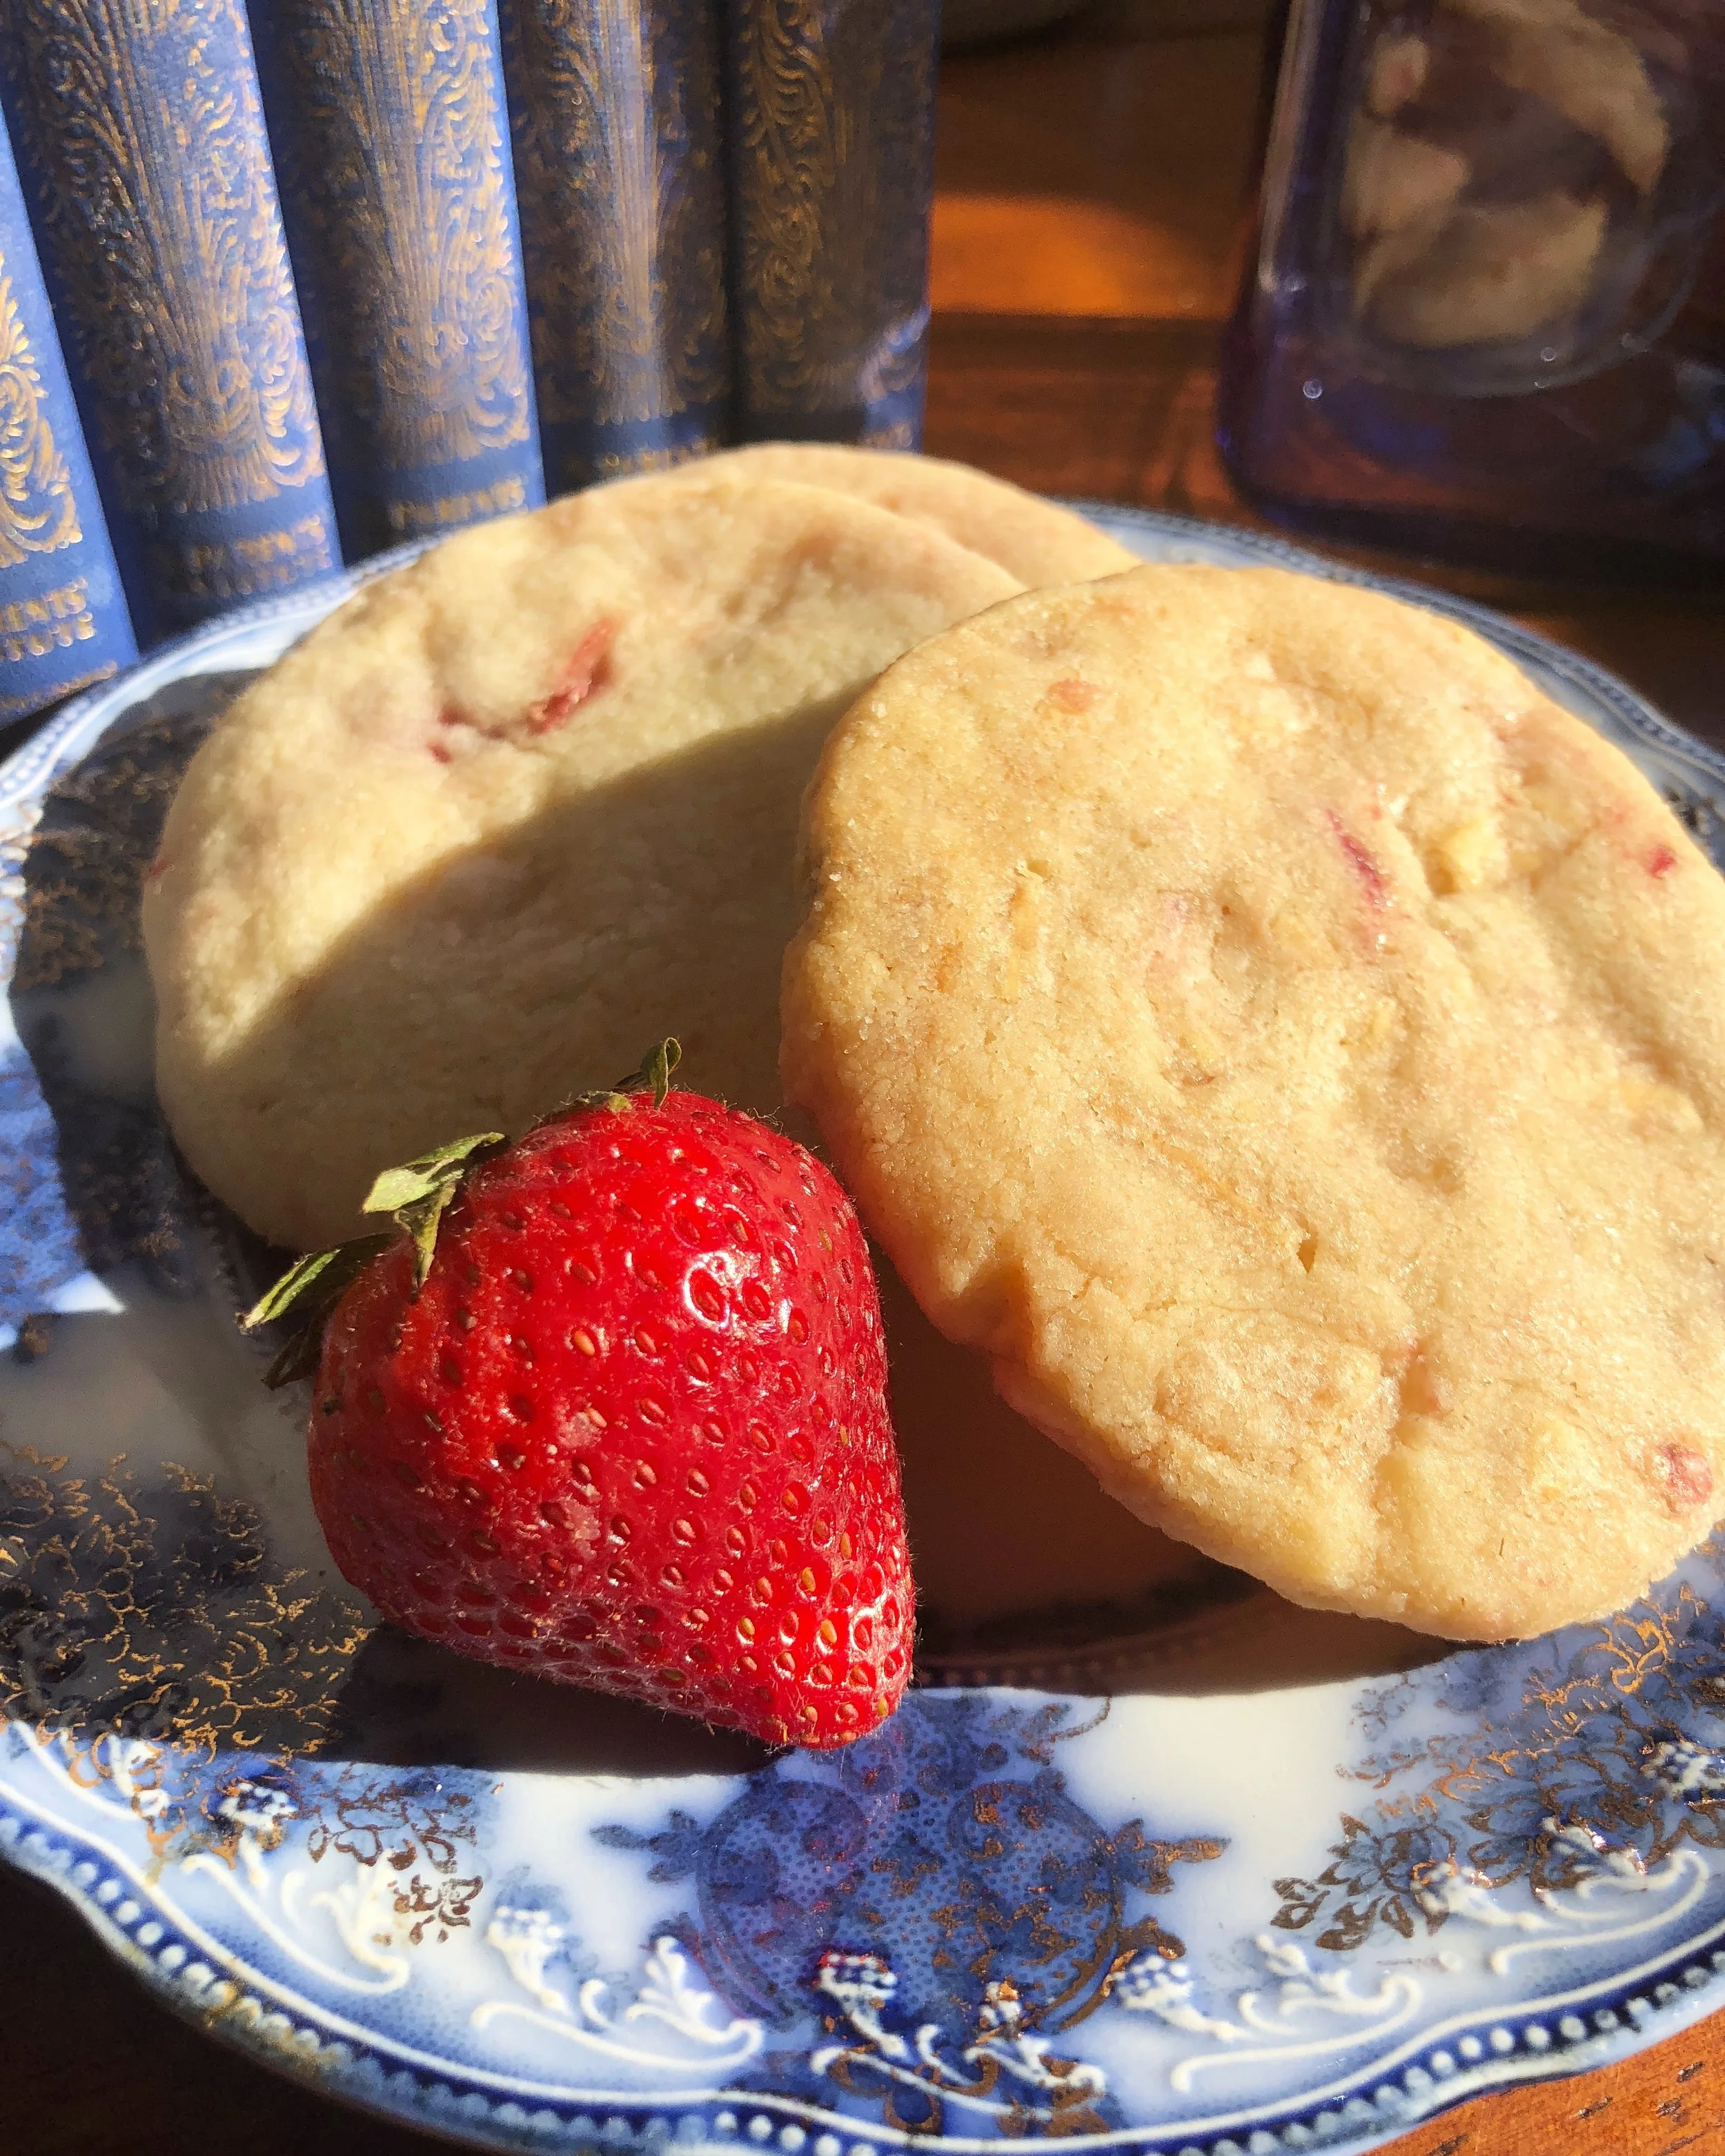
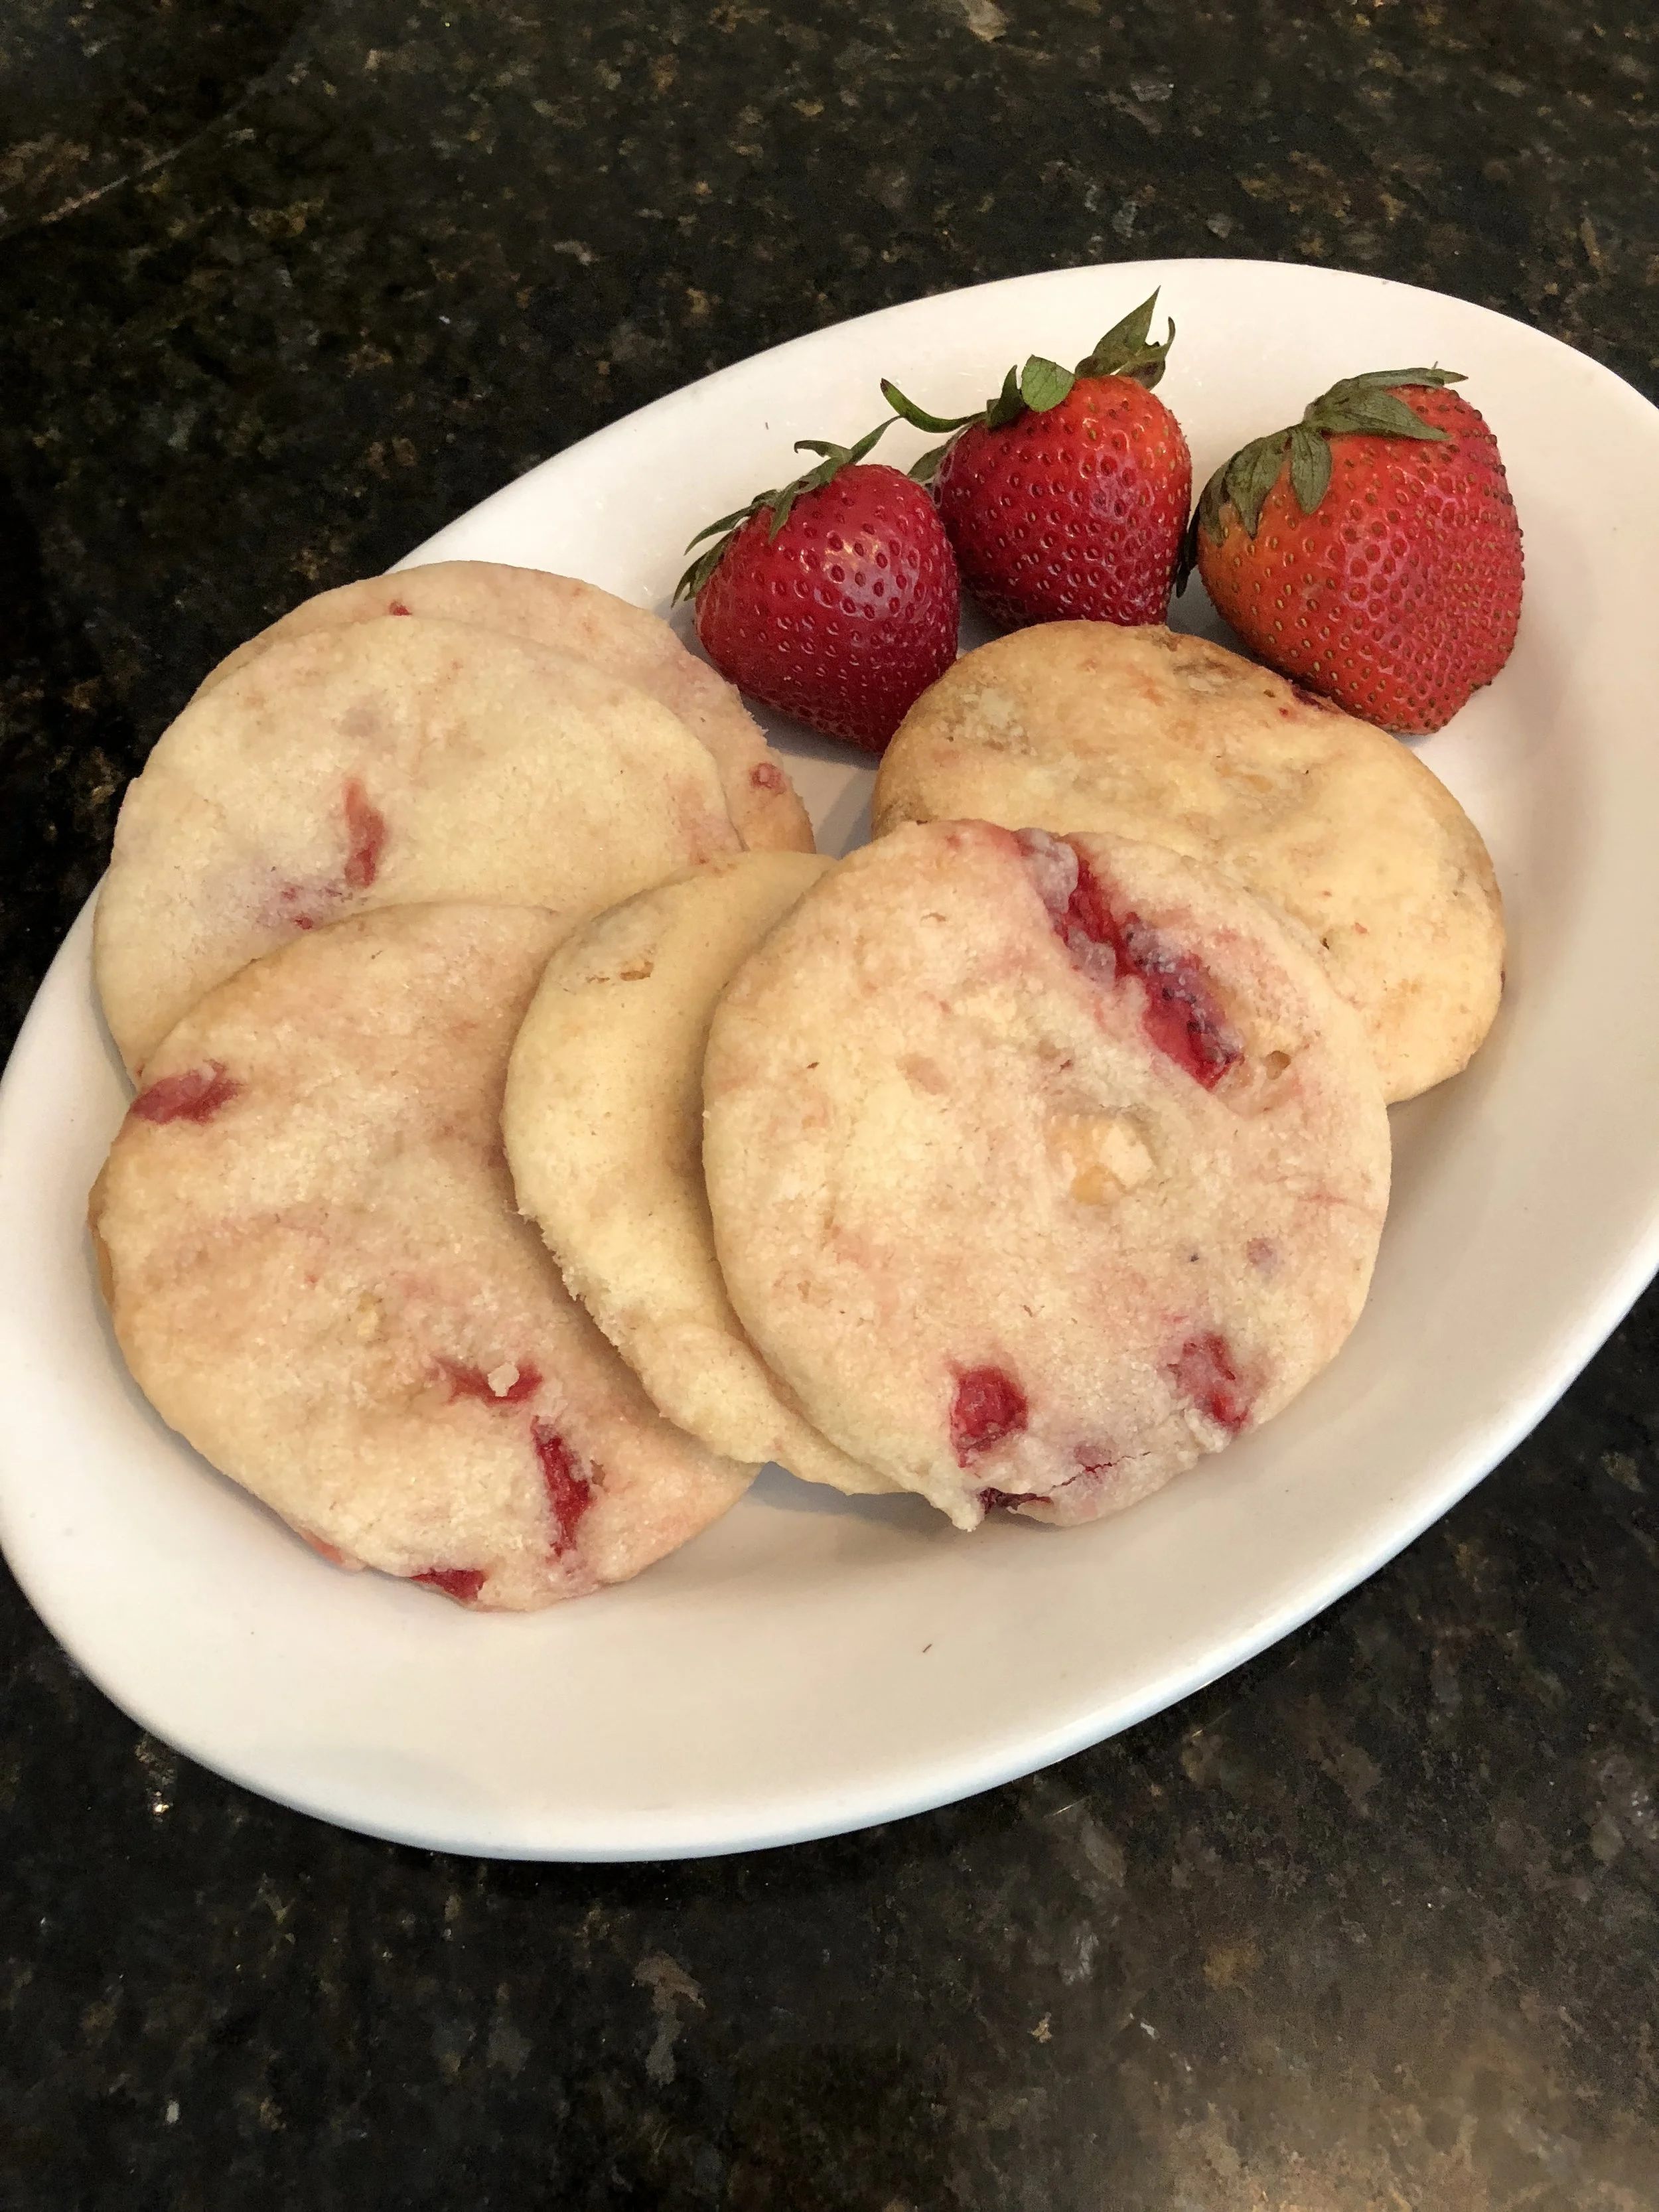
A New England recipe - Strawberries and Cream Shortbread Cookies - With White Chocolate
As I do with many recipes from a book, I modify them if I don't like how they came out and that is exactly what I did with these strawberry and cream shortbread cookies. The book recipe called for dried strawberries which I could not find locally, so I did end up dehydrating some to fill that need, but the flavor of the cookies in general were bland. I know many shortbread cookies are bland by nature, but I wanted something that was full of flavor - you know - the kind of flavor that makes you say "OMG this is so good!" and one is simply not enough. So on my third and final attempt, I finally got the flavor I was looking for and honestly it was due to thinking out of the box a little.
What part of this recipe was out of the box thinking? Well at the same time I was whipping up the strawberries and cream cookie recipe, I was also macerating strawberries for strawberry shortcake. The cookies were actually being made to bring to a friends house to enjoy after our lunch that day and the strawberry shortcake was being made just incase the third attempt at the cookies did not work. Remember this was my third attempt so I was panicking a little that I would not have something to bring and I was determined to use strawberries. So for the thinking out of the box part of it... you will see in the recipe below that I used a bit of the juice from the macerated strawberries. Simple right?
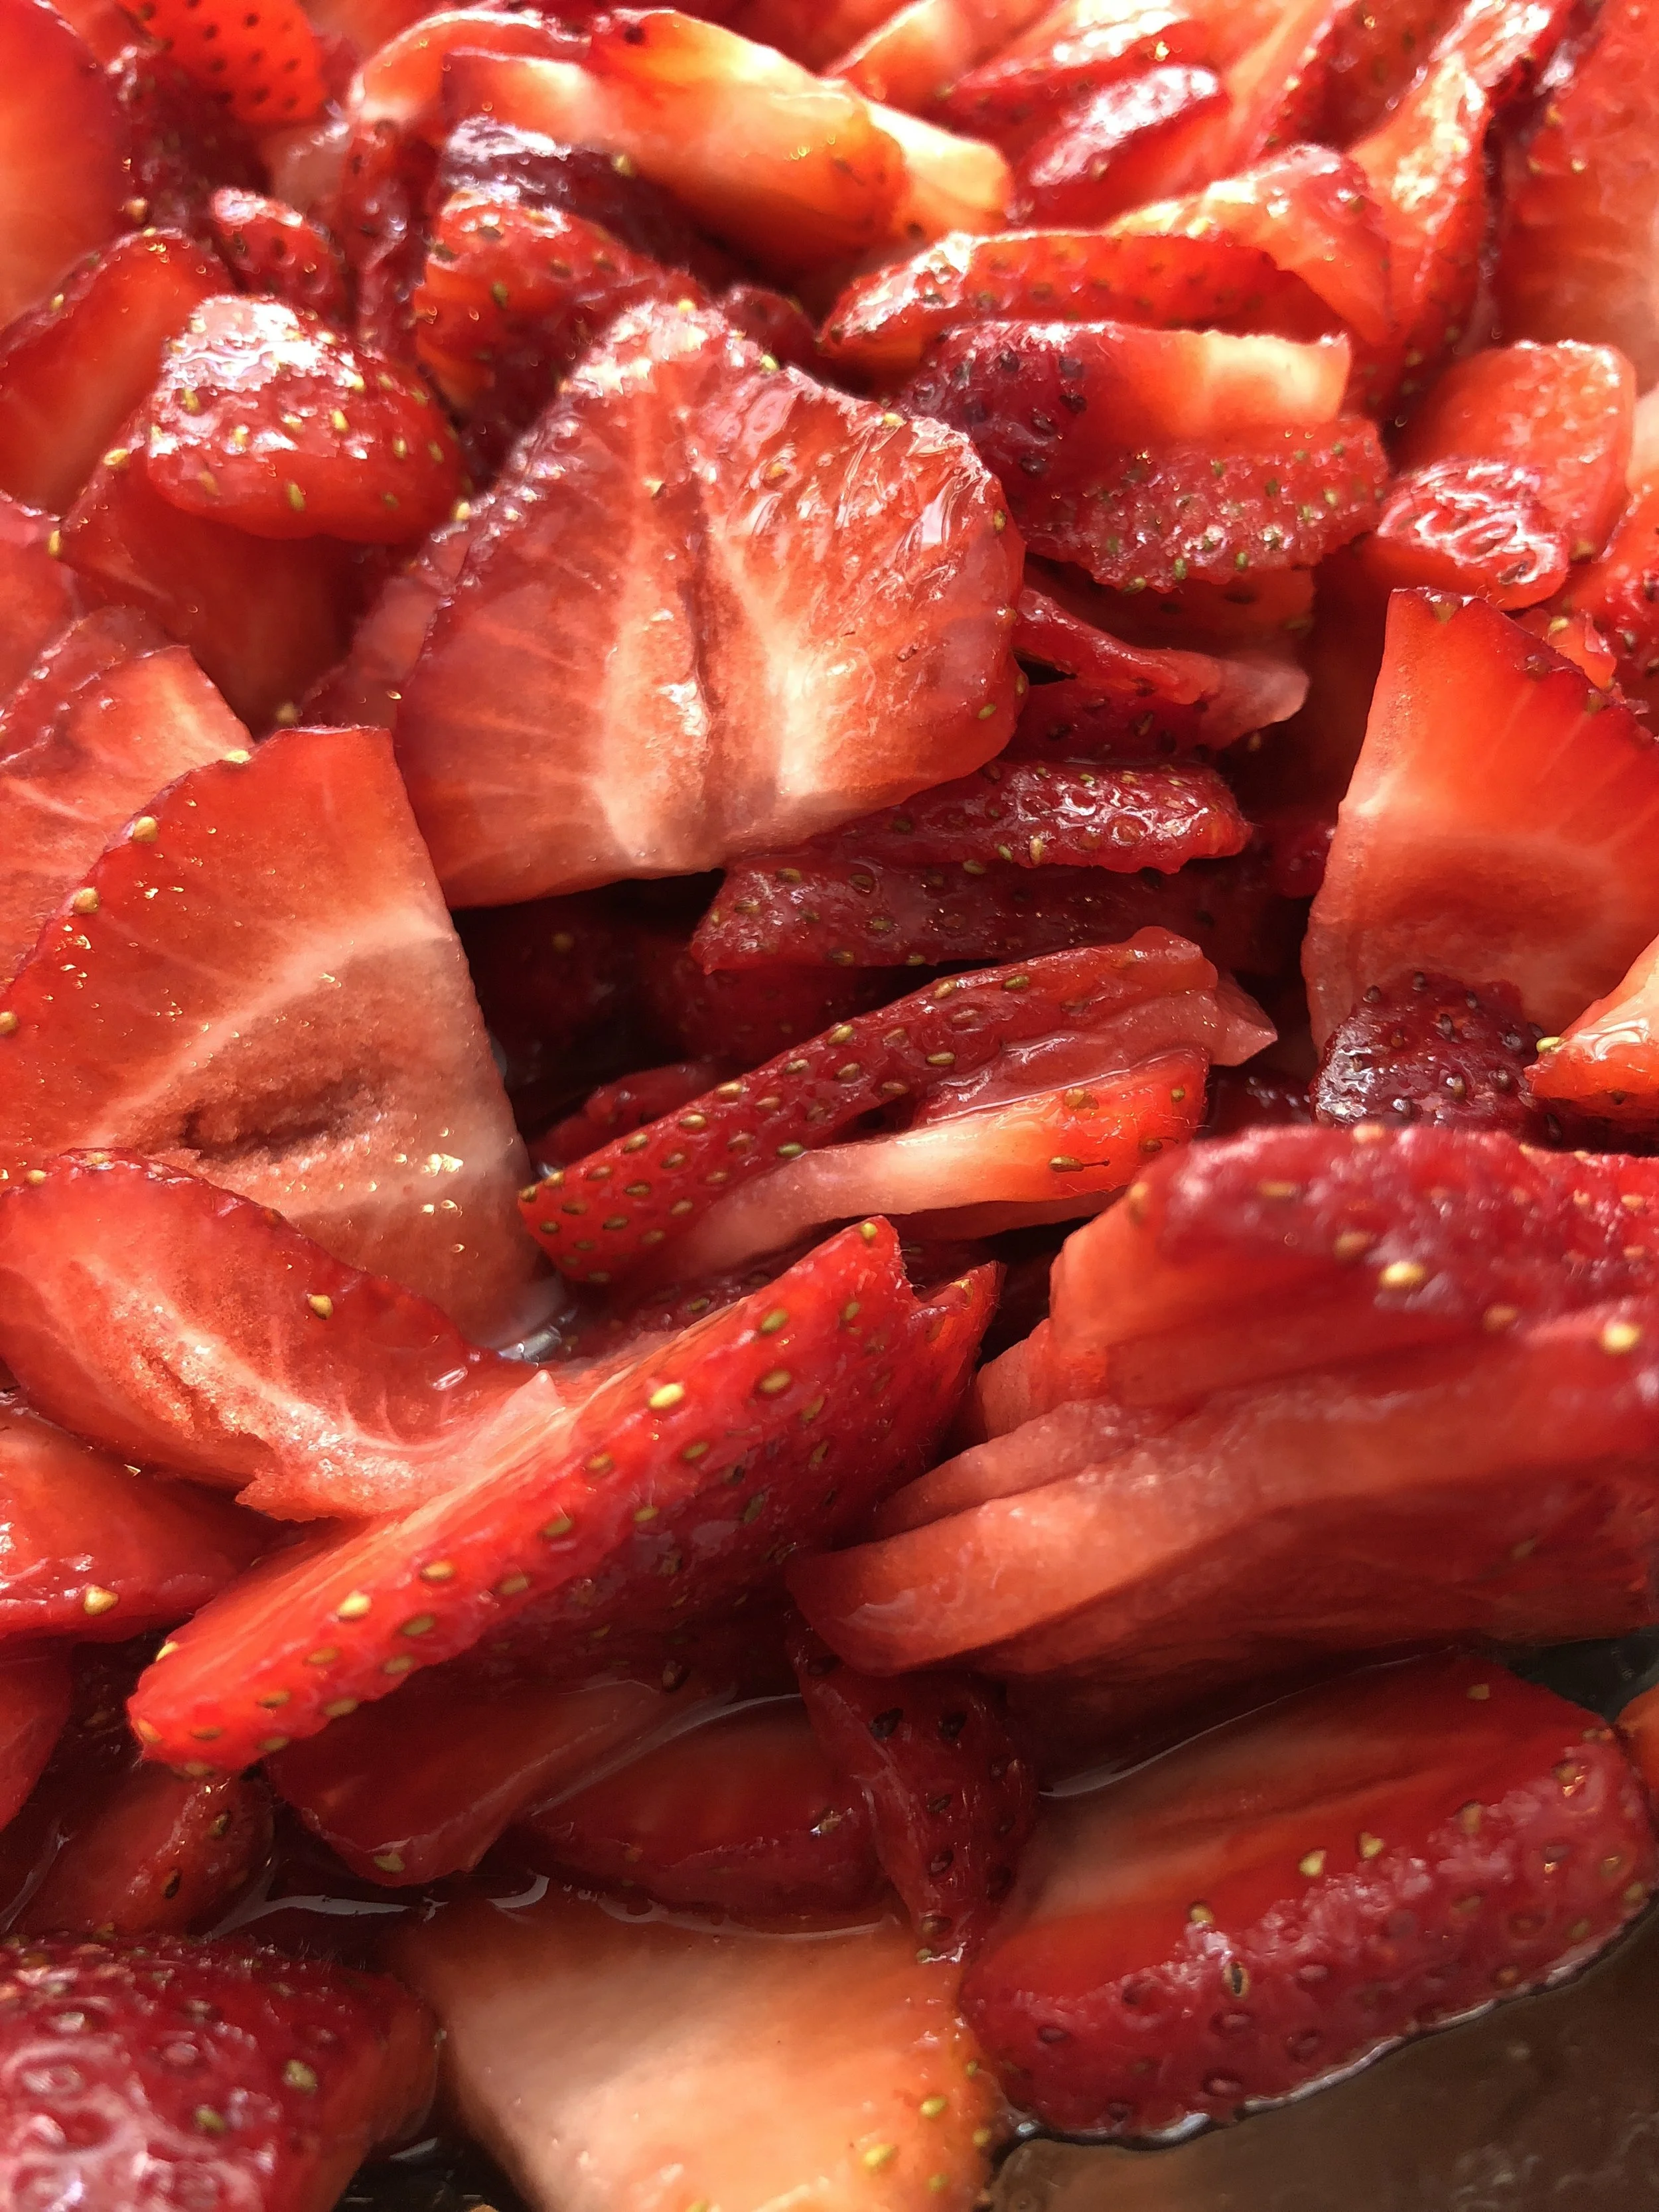
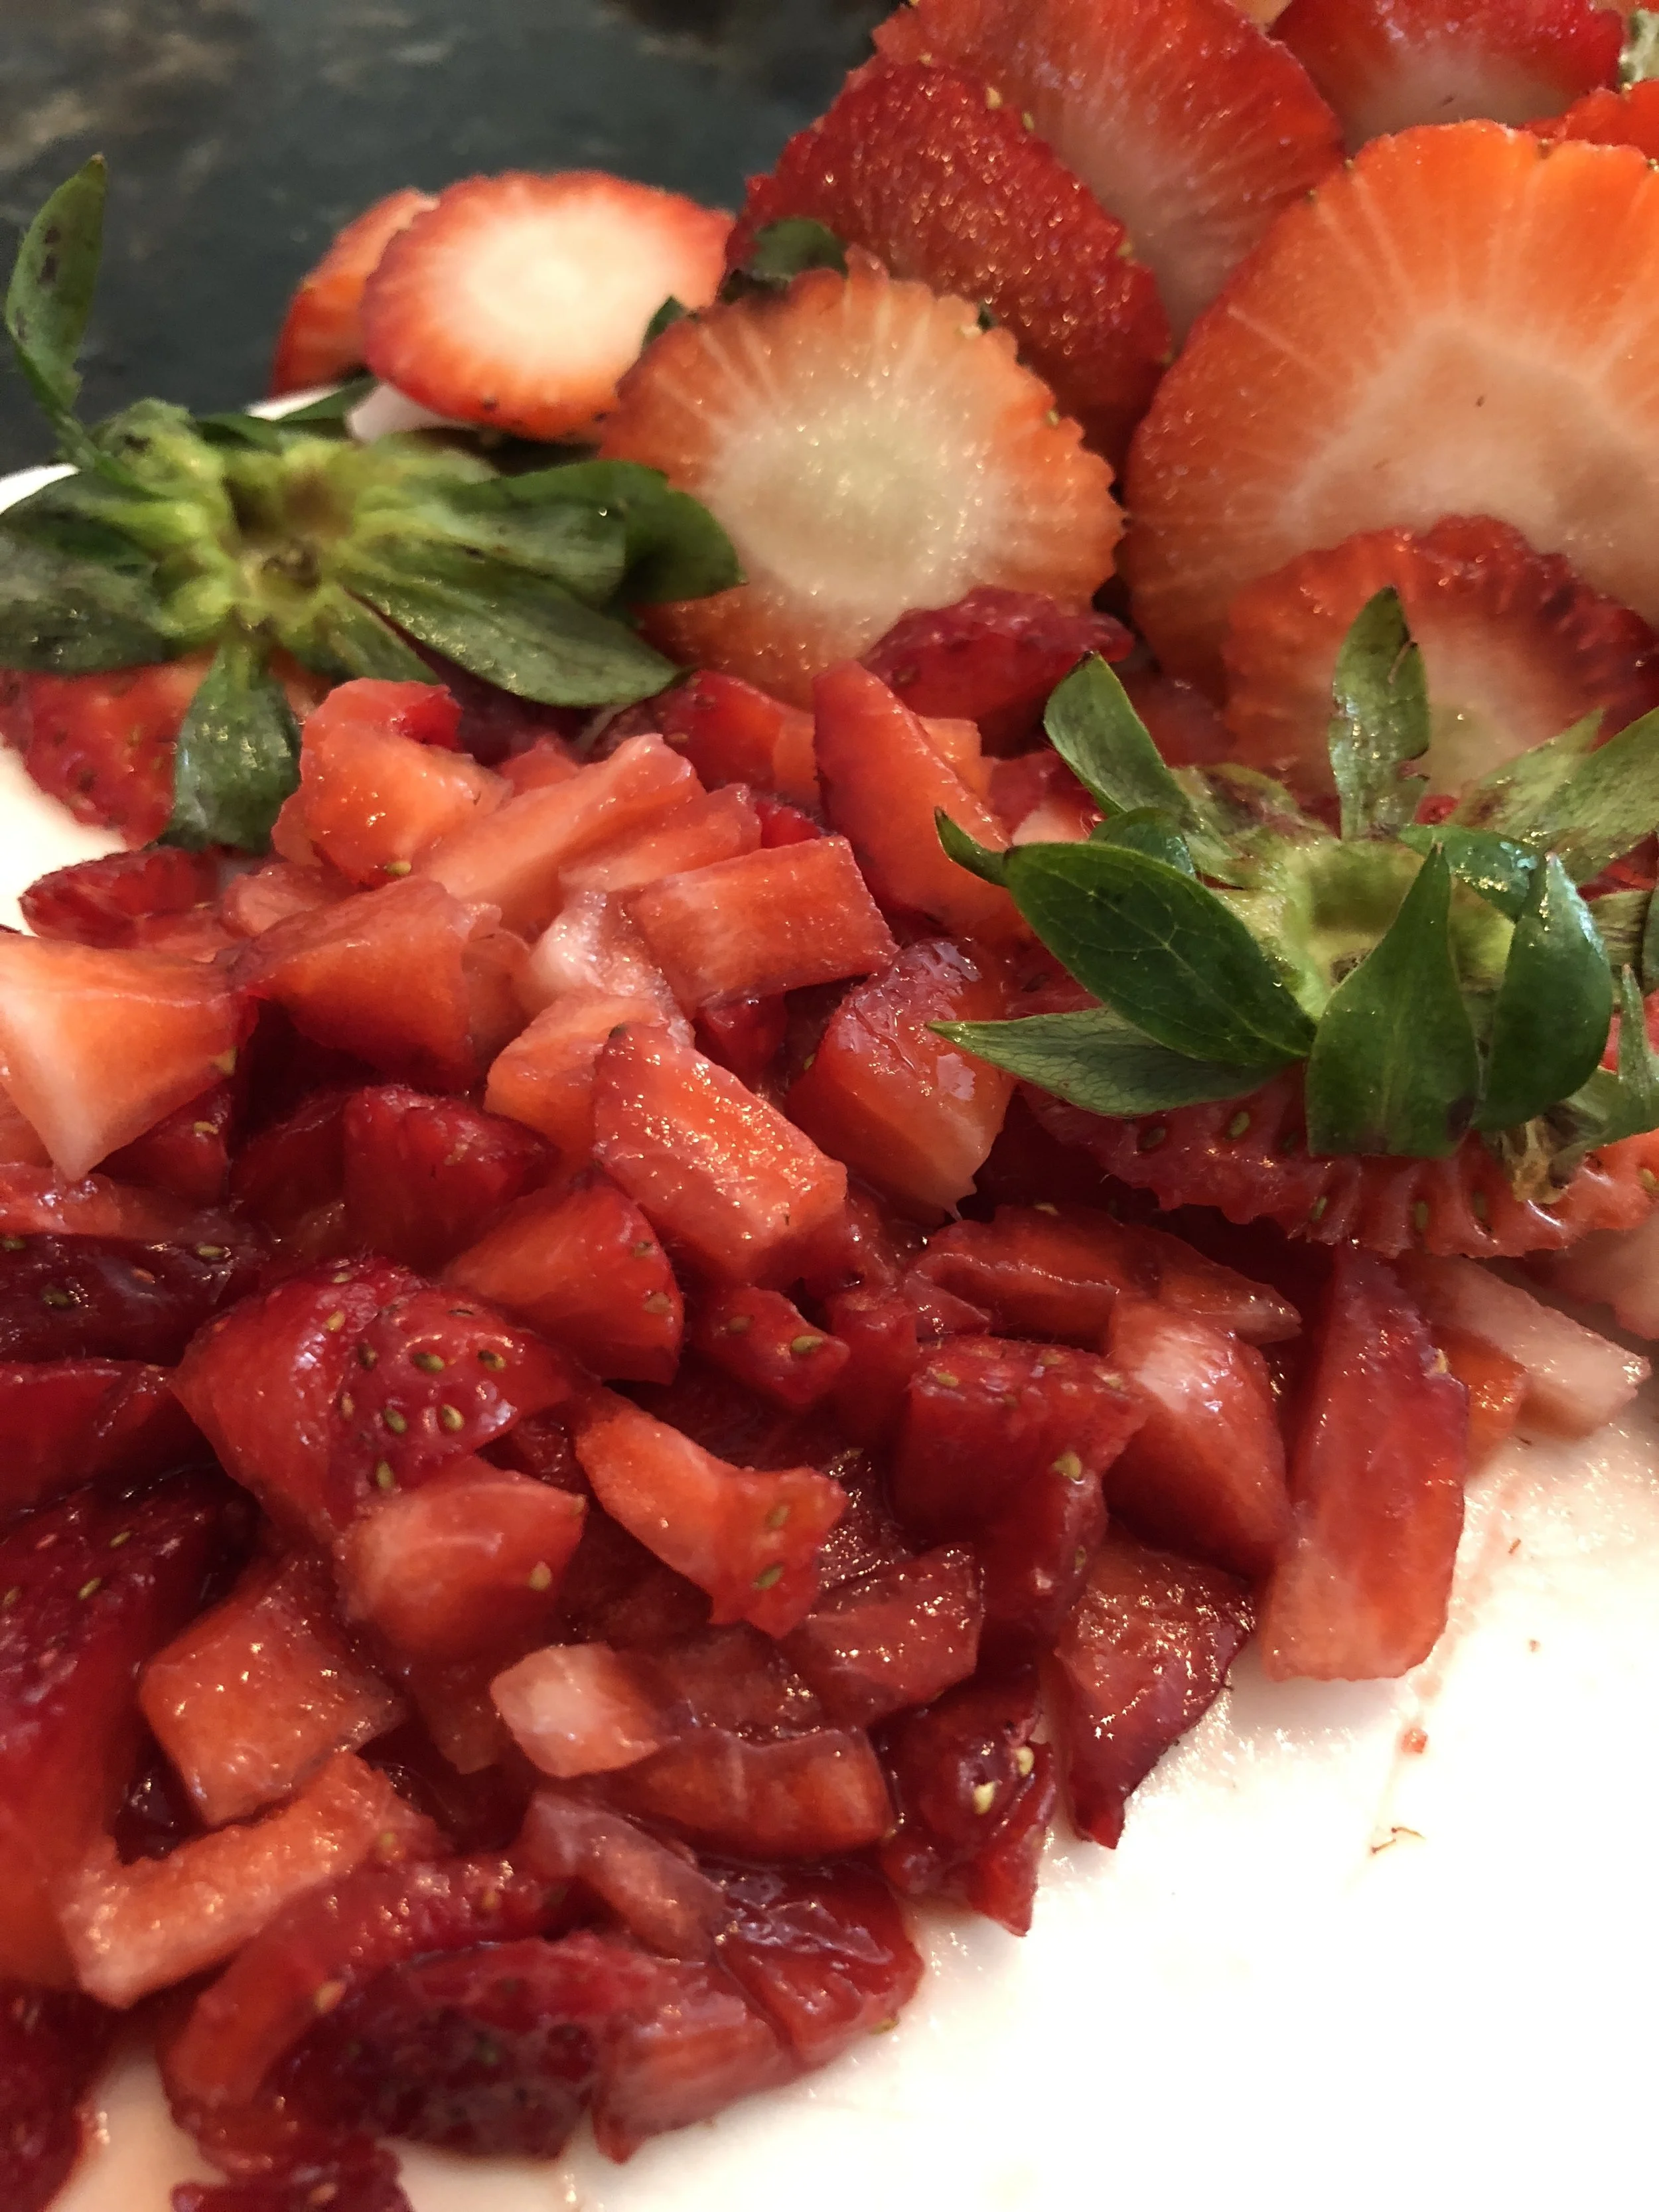
Note: for those wondering what I mean by macerating strawberries, I added sugar to the cut up strawberries to make them produce juice or a syrup. I wish I took a photo of all of the syrup, but the photo above shows a bit of it.
Strawberries & Cream Shortbread Ingredients
Preheat oven to 300 degrees
3/4 cup fine granulated sugar (you can grind regular granulated sugar if you don't have any or you can purchase here )
1 cup (two sticks) unsalted butter - softened
2 cups and 2 tablespoons of all-purpose flour - set aside some additional flour to add if needed when folding in the strawberries
2 teaspoons pure vanilla extract
2 teaspoons of strawberry syrup (this can be made by cutting up a few ripe strawberries and sprinkling with sugar and let set for about half hour or so)
1 tablespoon heavy whipping cream
1/2 teaspoon salt
1/2 cup minced white chocolate (I used a large bar of Godiva white baking chocolate that you can purchase here)
3/4 cup diced strawberries that have been pressed between paper towels
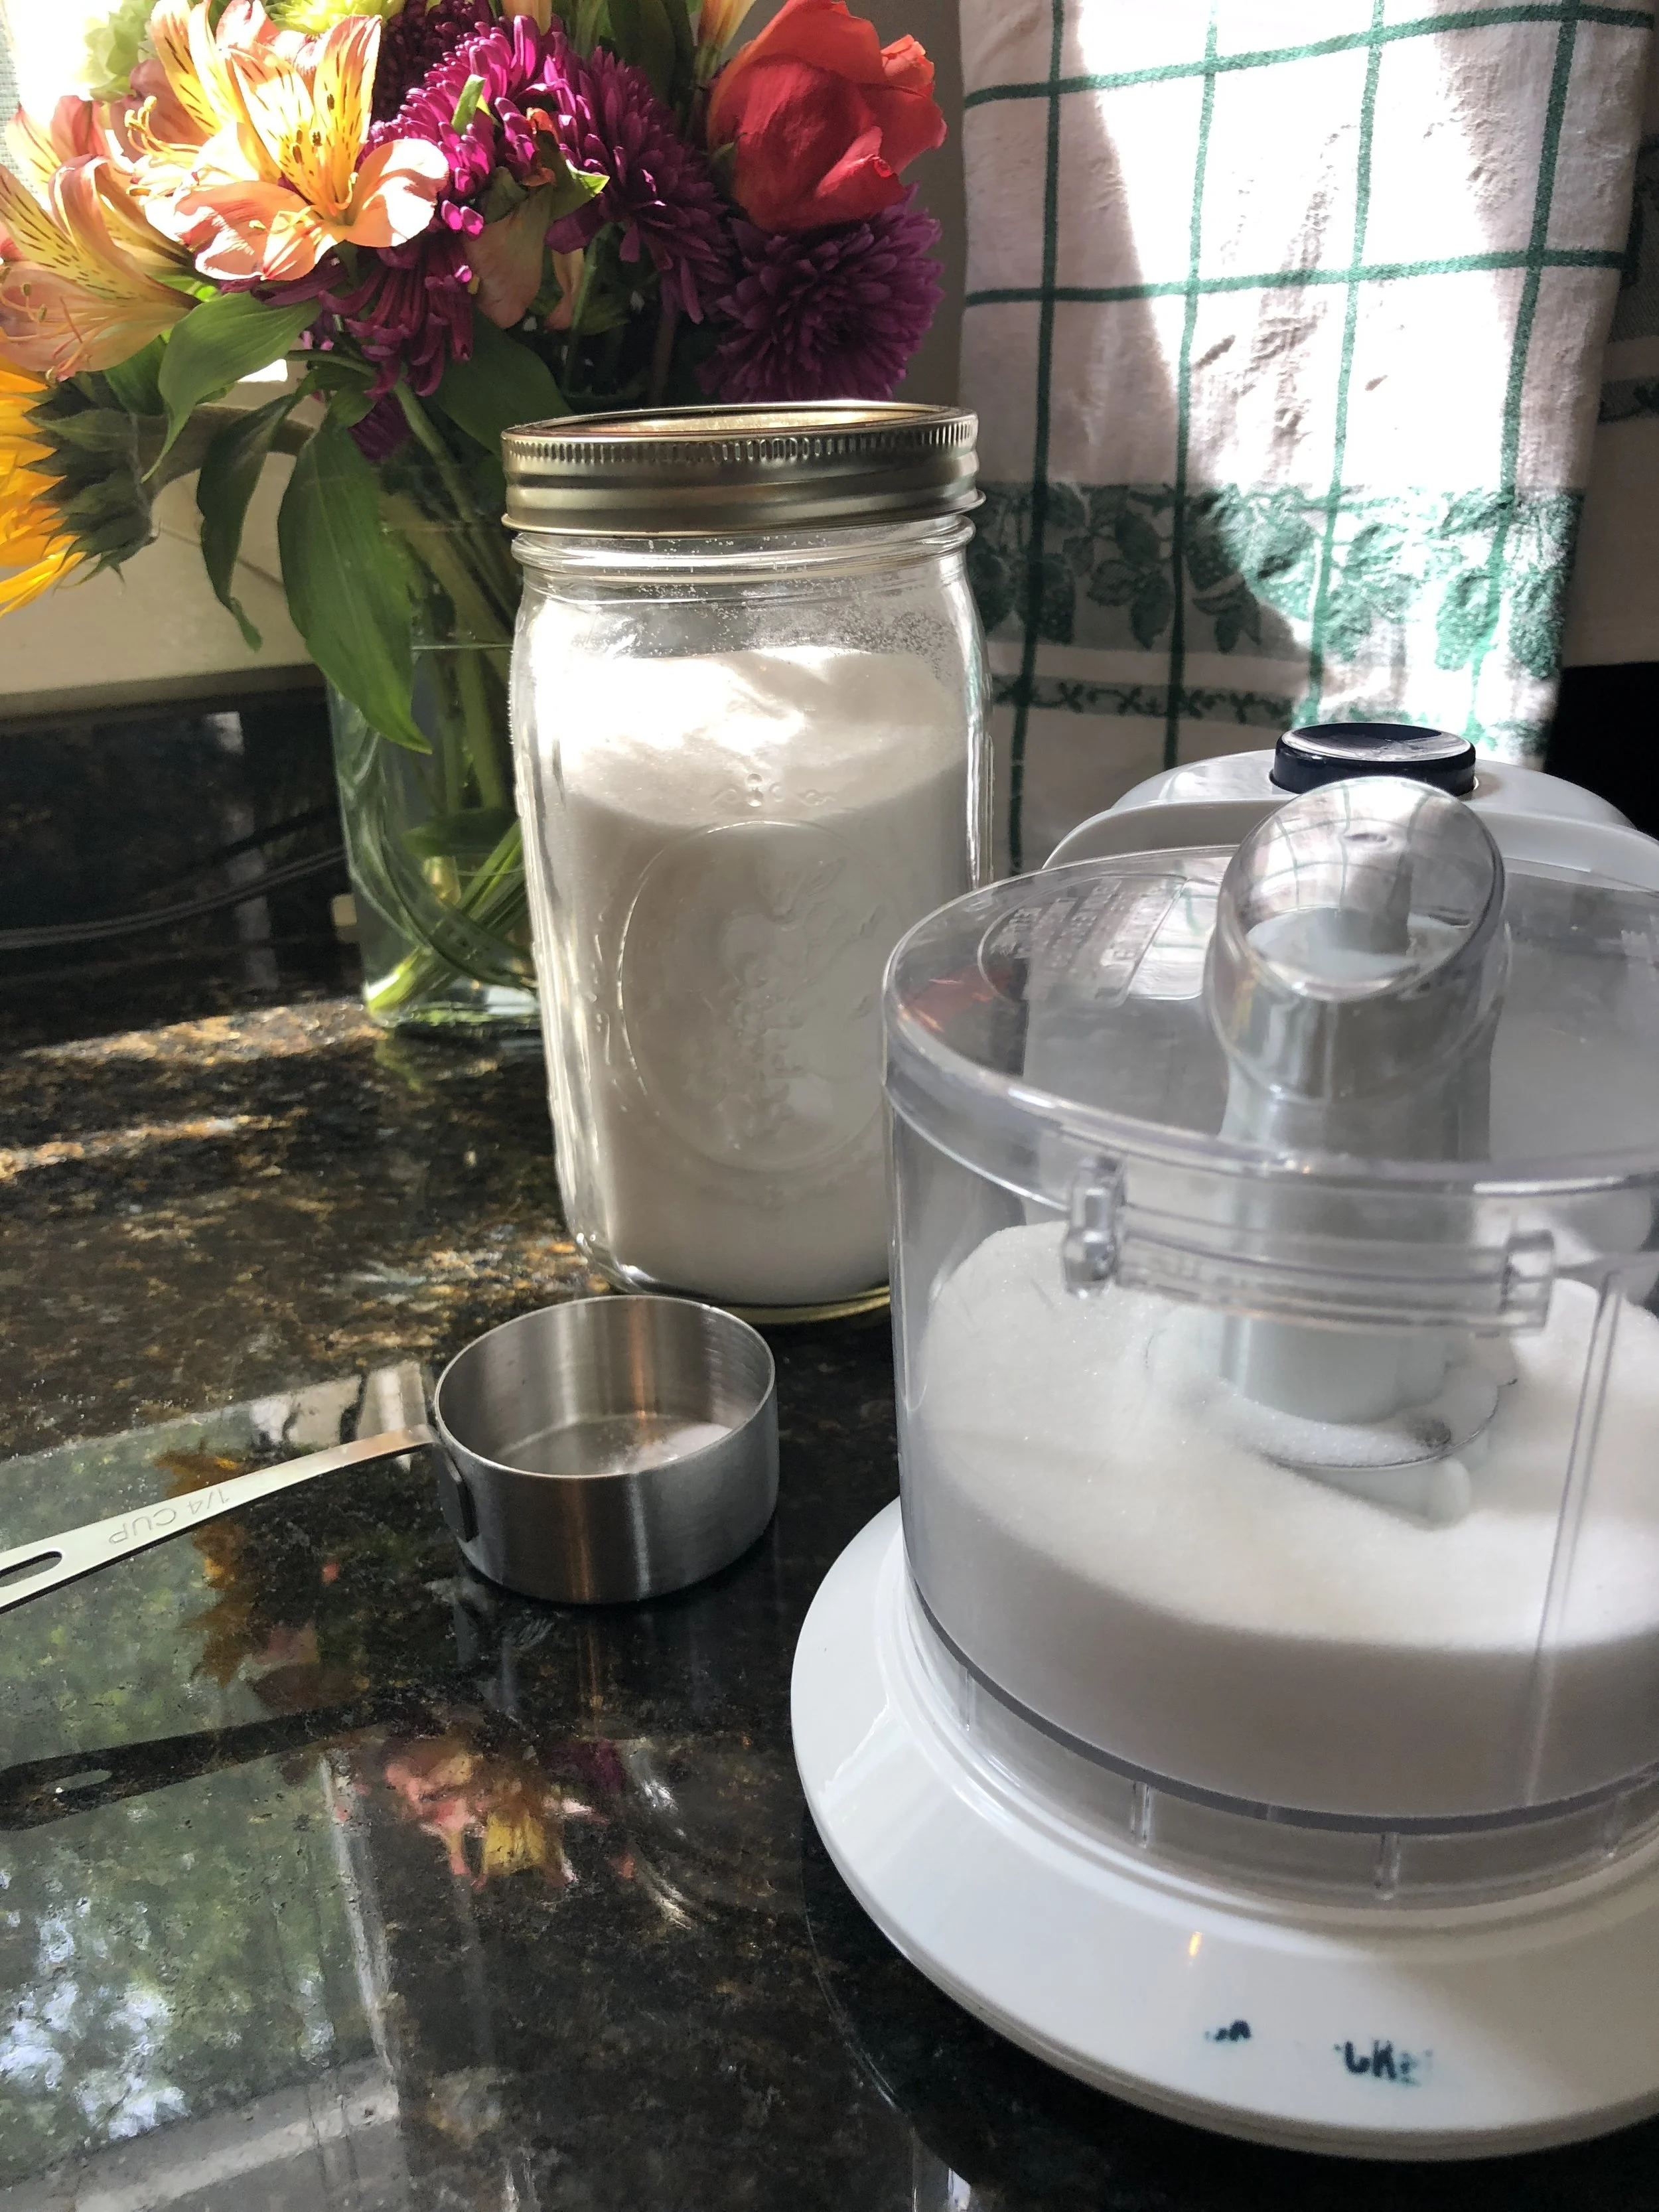
If you don't have super-fine sugar on hand, you can quickly pulverize regular granulated sugar in a food processor.
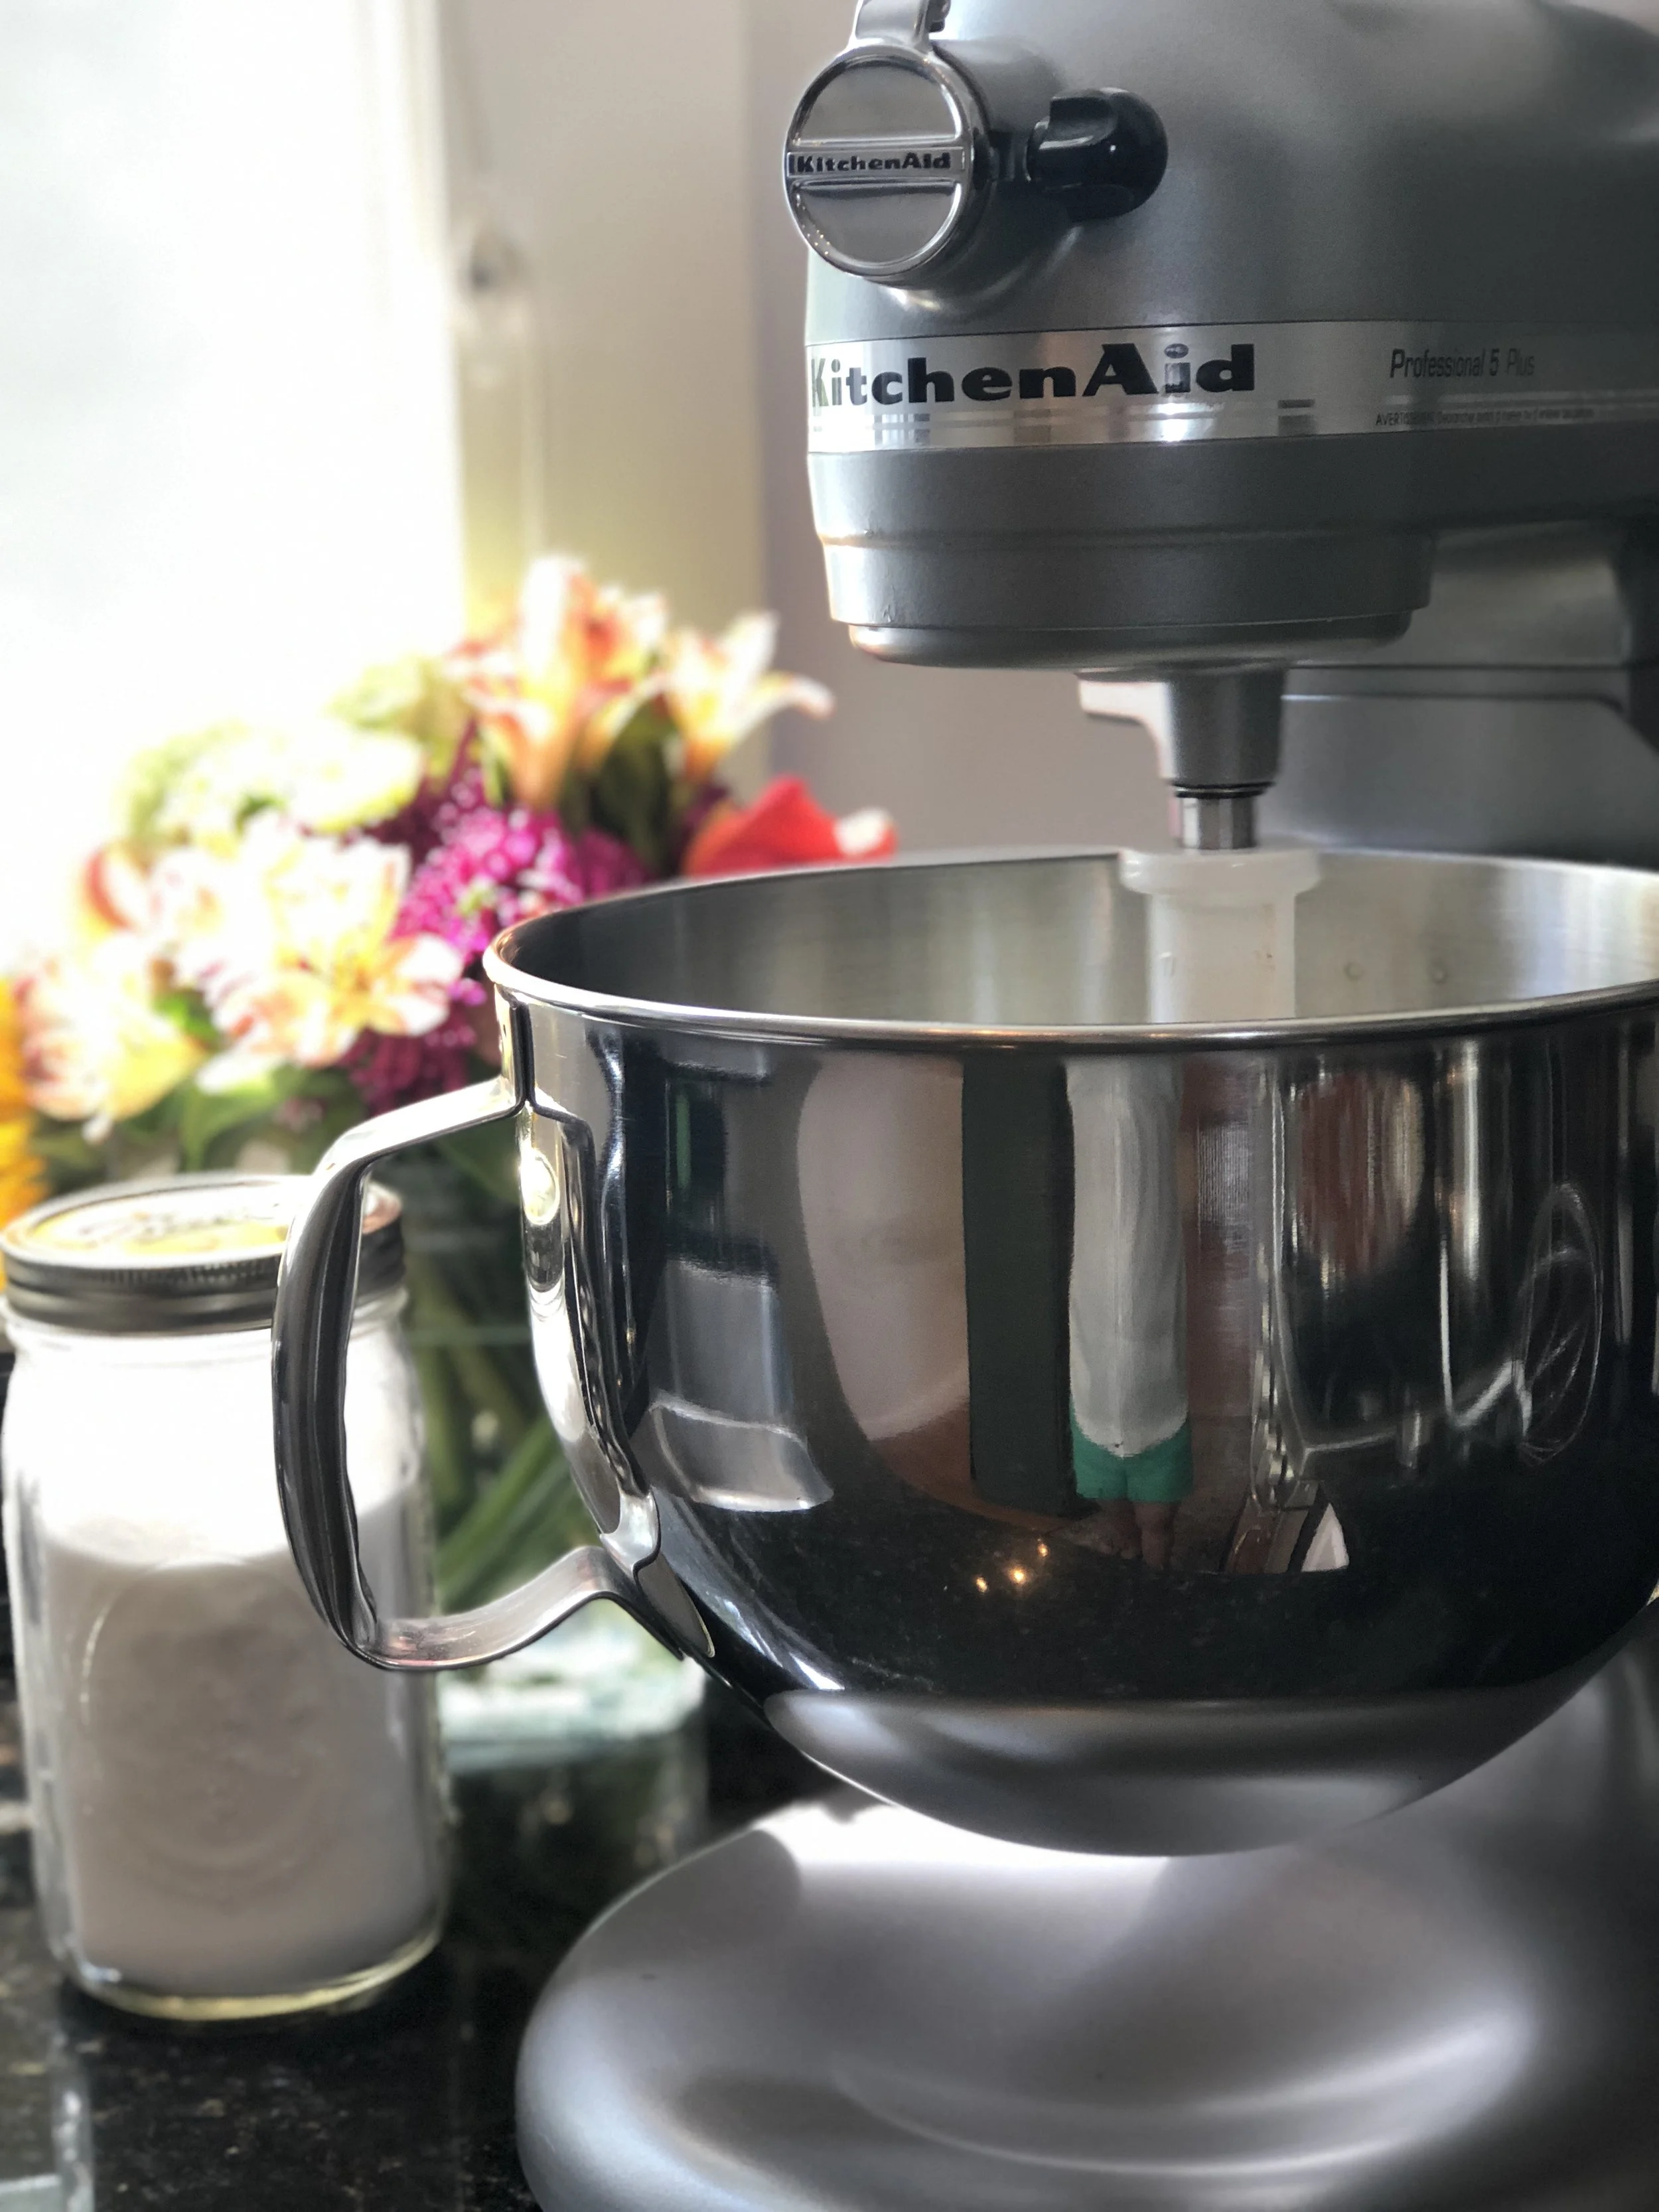
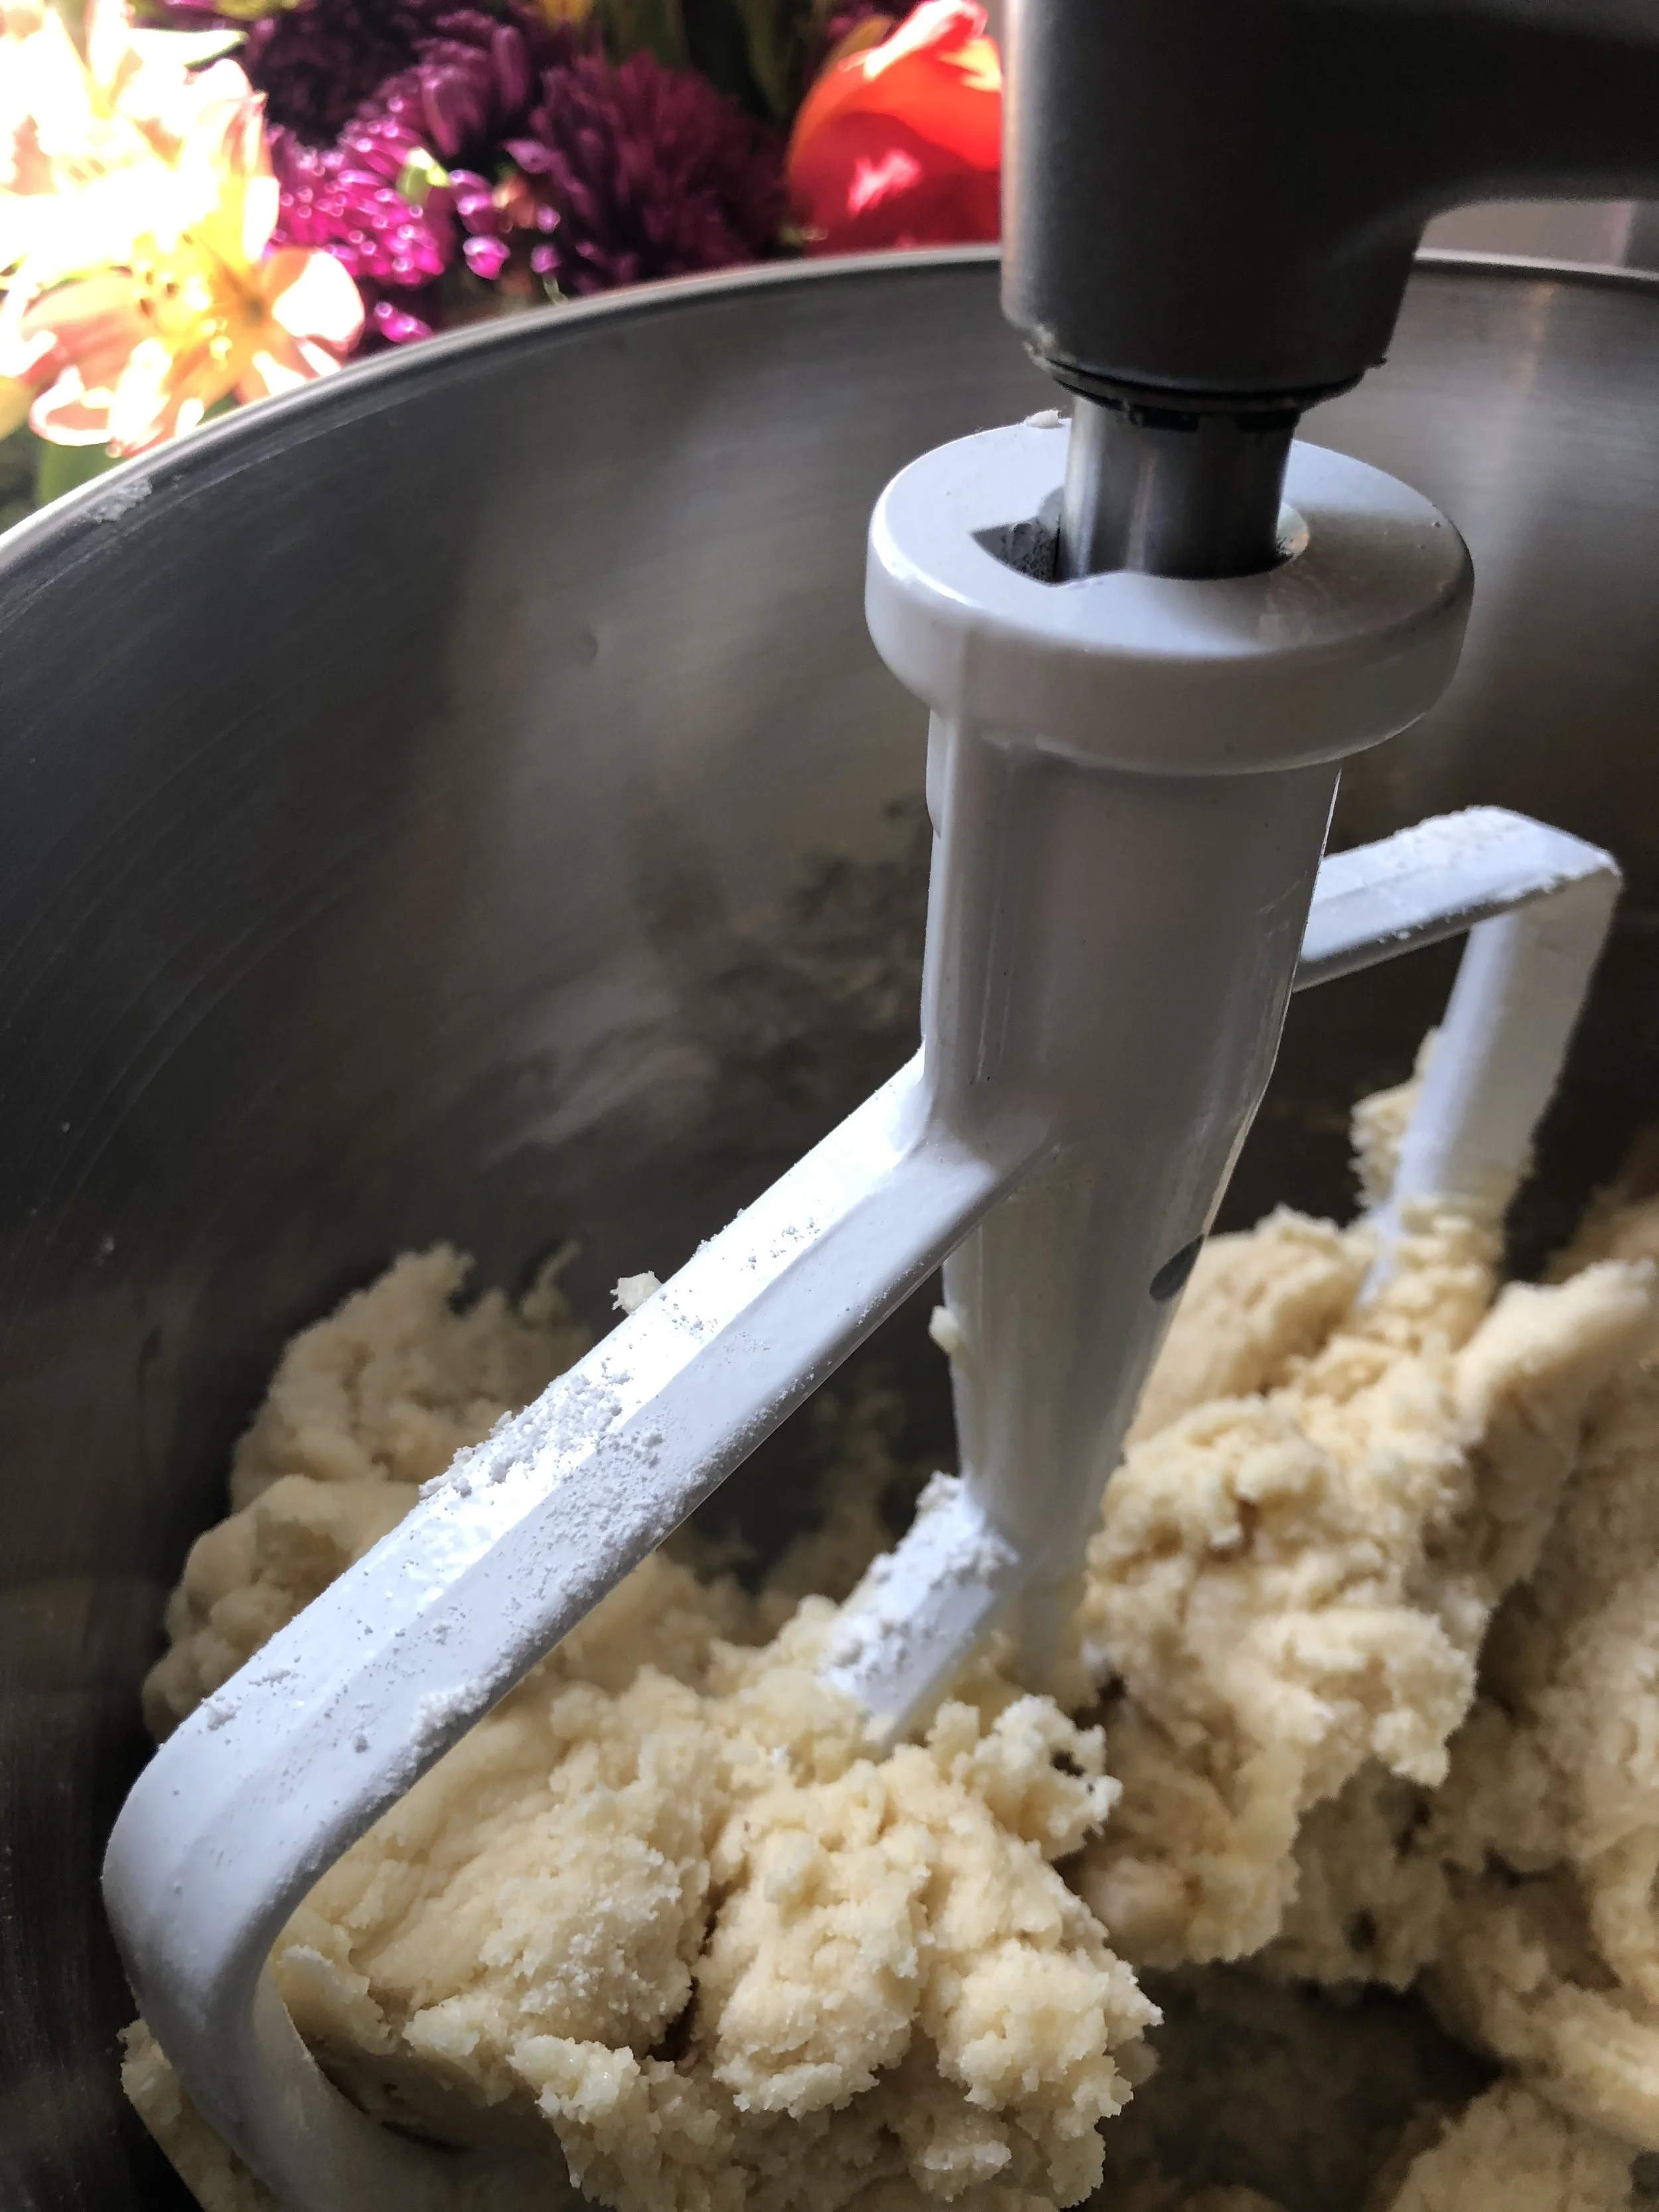
I still can't believe that I waited so long to purchase my mixer. Mine happens to be a Kitchen Aid Professional 5 Plus. It has made baking so much easier and it is fun to imagine what Martha or Ina feel like while baking and using their mixers too!
All of the ingredients are mixed together EXCEPT for the white chocolate and chopped strawberries which are folded in without the mixer. Much better to be done by hand.
I would be lying if I said some of this chocolate did not make it into the cookies. Hey... a women has to snack and nibble while baking to taste test everything and make sure it is okay! :-)
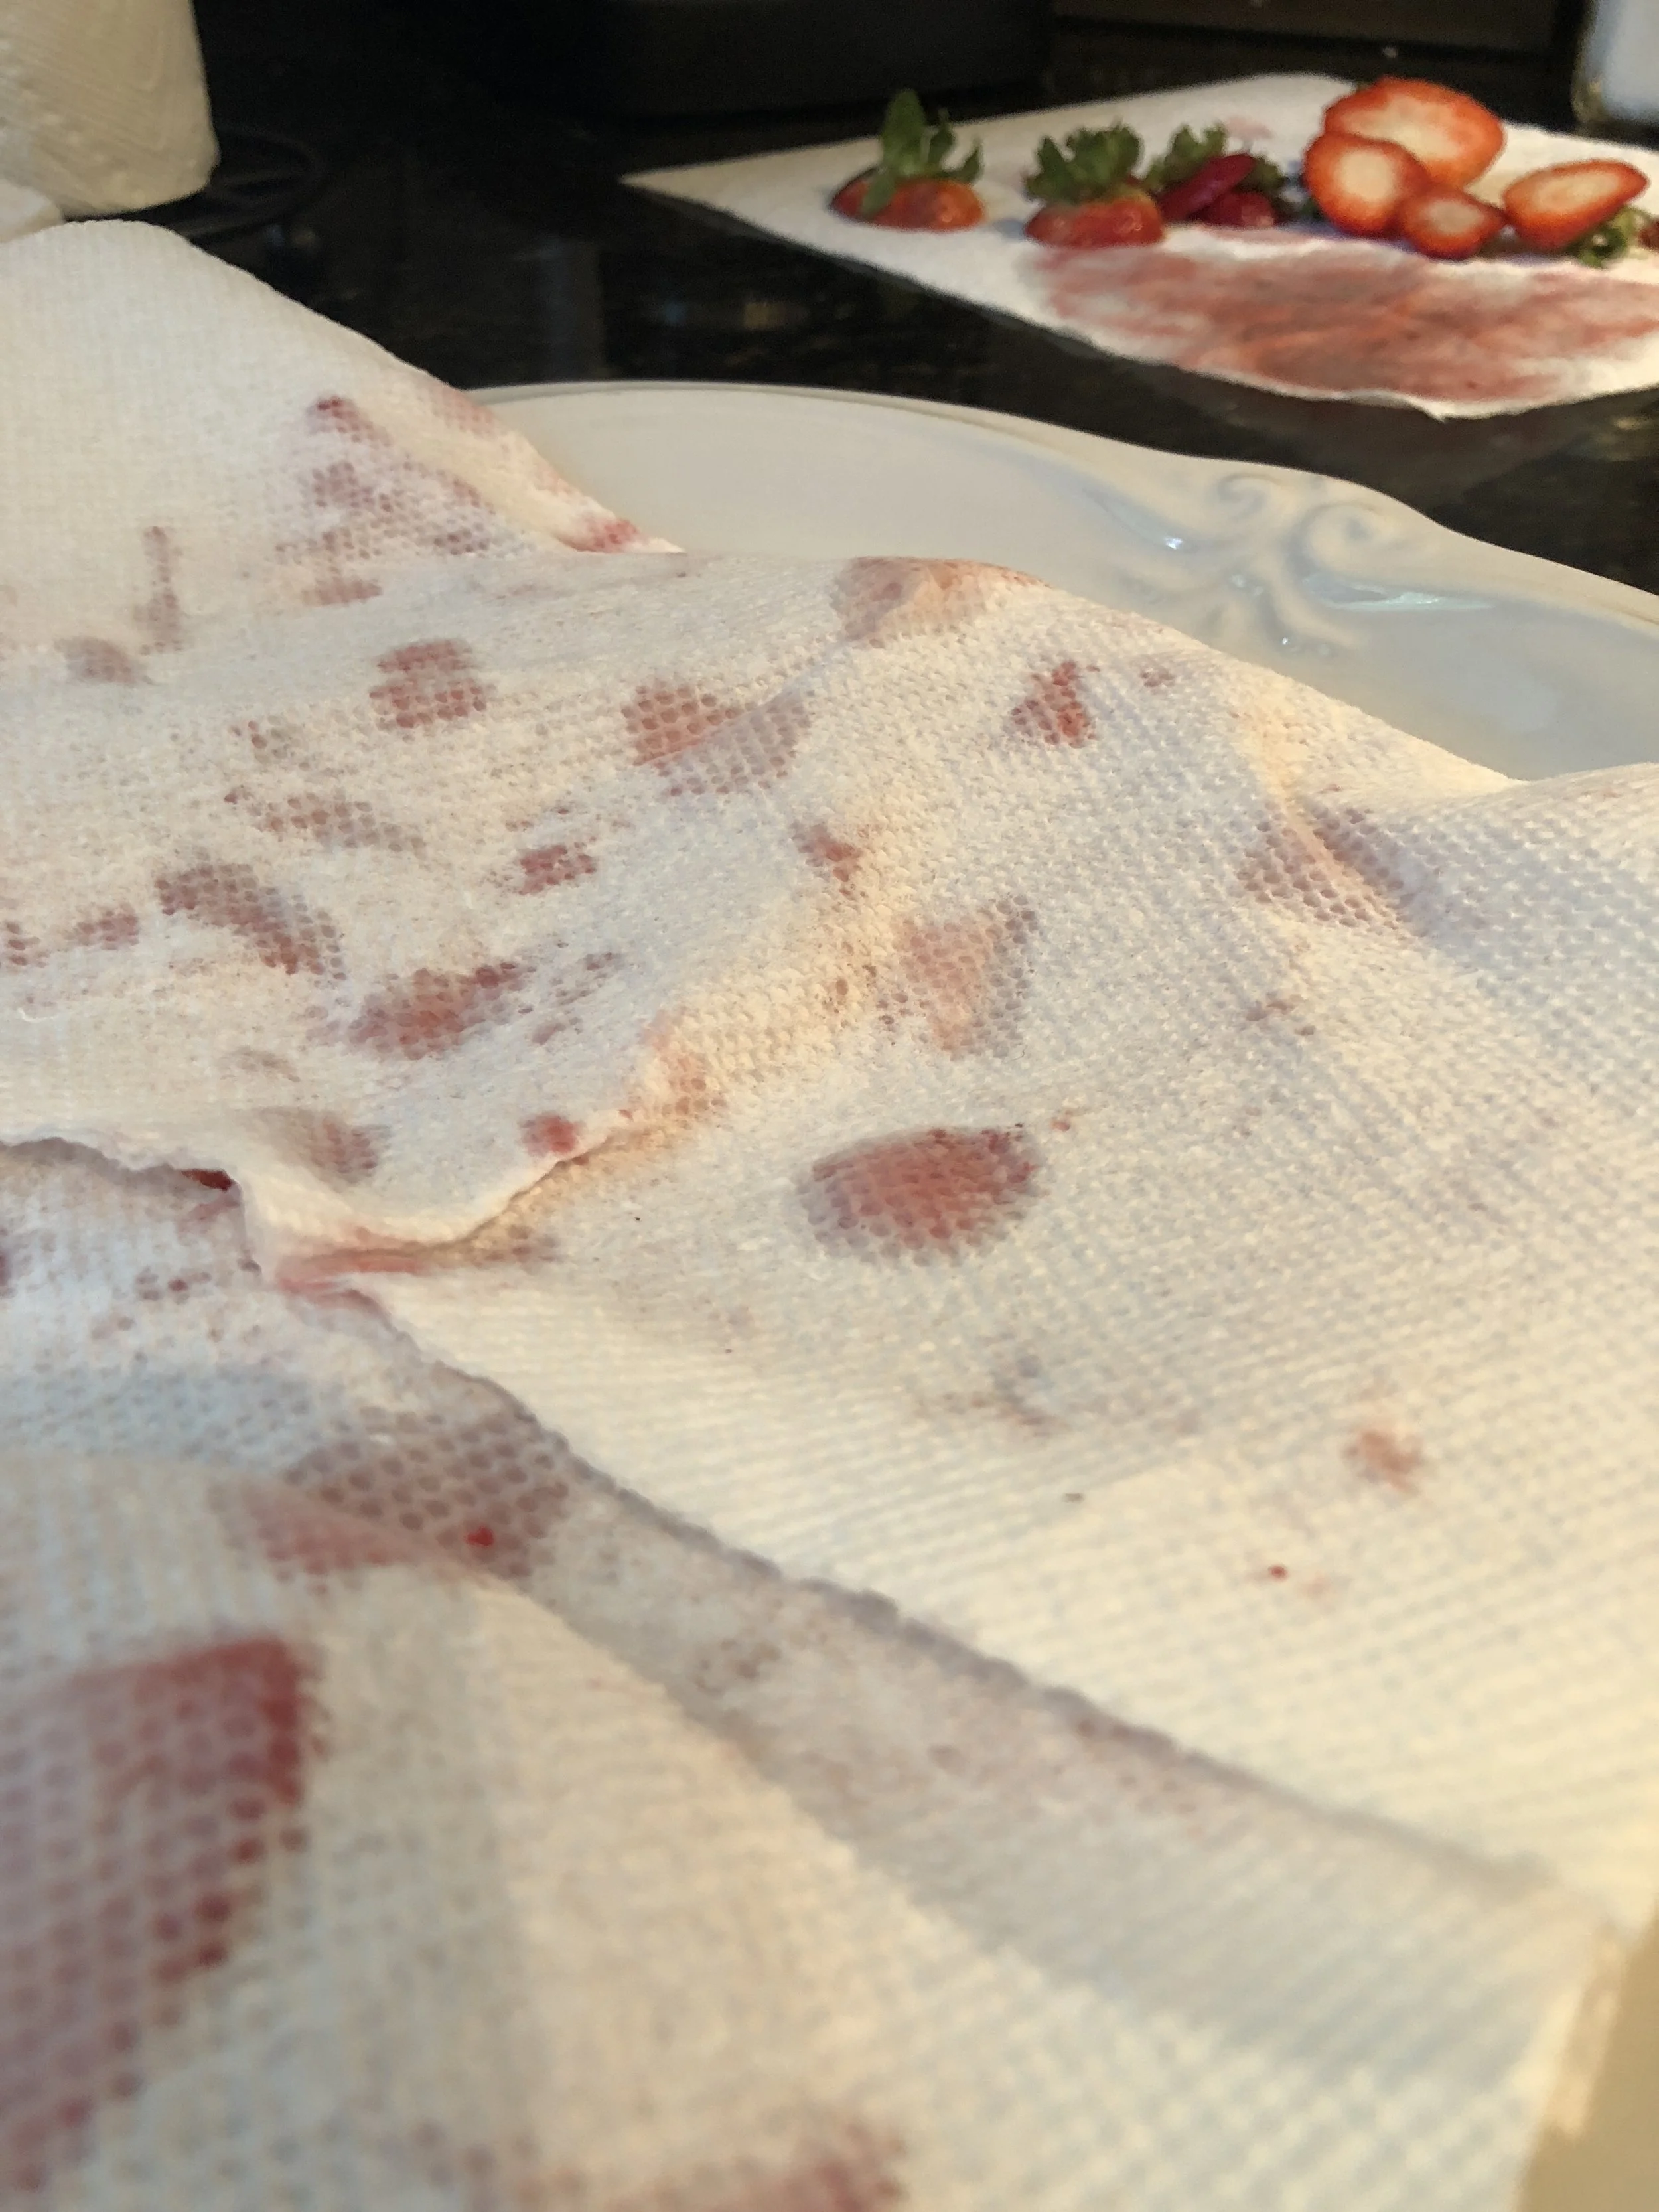
The diced strawberries being pressed between paper towels. If this is not done, the sugar in the shortbread dough makes them juice even more.
This is where it gets a bit messy or fun depending on your mood. You can either add the strawberries and white chocolate into the mixing bowl and blend them all together on low speed, but I liked taking the shortbread dough out of the bowl and mixing the strawberries and white chocolate in by hand so that I could feel the consistency of the dough. This is when I added a bit more flour so that it was not too "sticky".
Once everything is incorporated together, create a disk out of the dough and wrap it in plastic wrap and place in the refrigerator until chilled. NOTE: I left mine over night the first attempt and it was too hard to roll out right away so you can let it chill while cleaning up the kitchen and get things ready for rolling out the dough.
With the oven already preheated to 300 degrees, roll out your dough to about 1/4 inches thick and cut with a circle cookie cutter. No circle cookie cutter? I have used juice glasses or small mason jar covers before. Circle cookie cutters are also available here.
I should share that I also did a batch with the dough rolled then chilled so that I was able to slice and cut the cookies. It worked great, but the sizes were not as consistent. I still have some in my fridge and I can cut them and place them in the oven for a quick treat.
Using your ovens middle rack, bake the cookies on a parchment paper lined cookie sheet. You might even want to stack two cookie pans together with the parchment paper on the top sheet. This will help prevent your cookies from burning on the bottom.
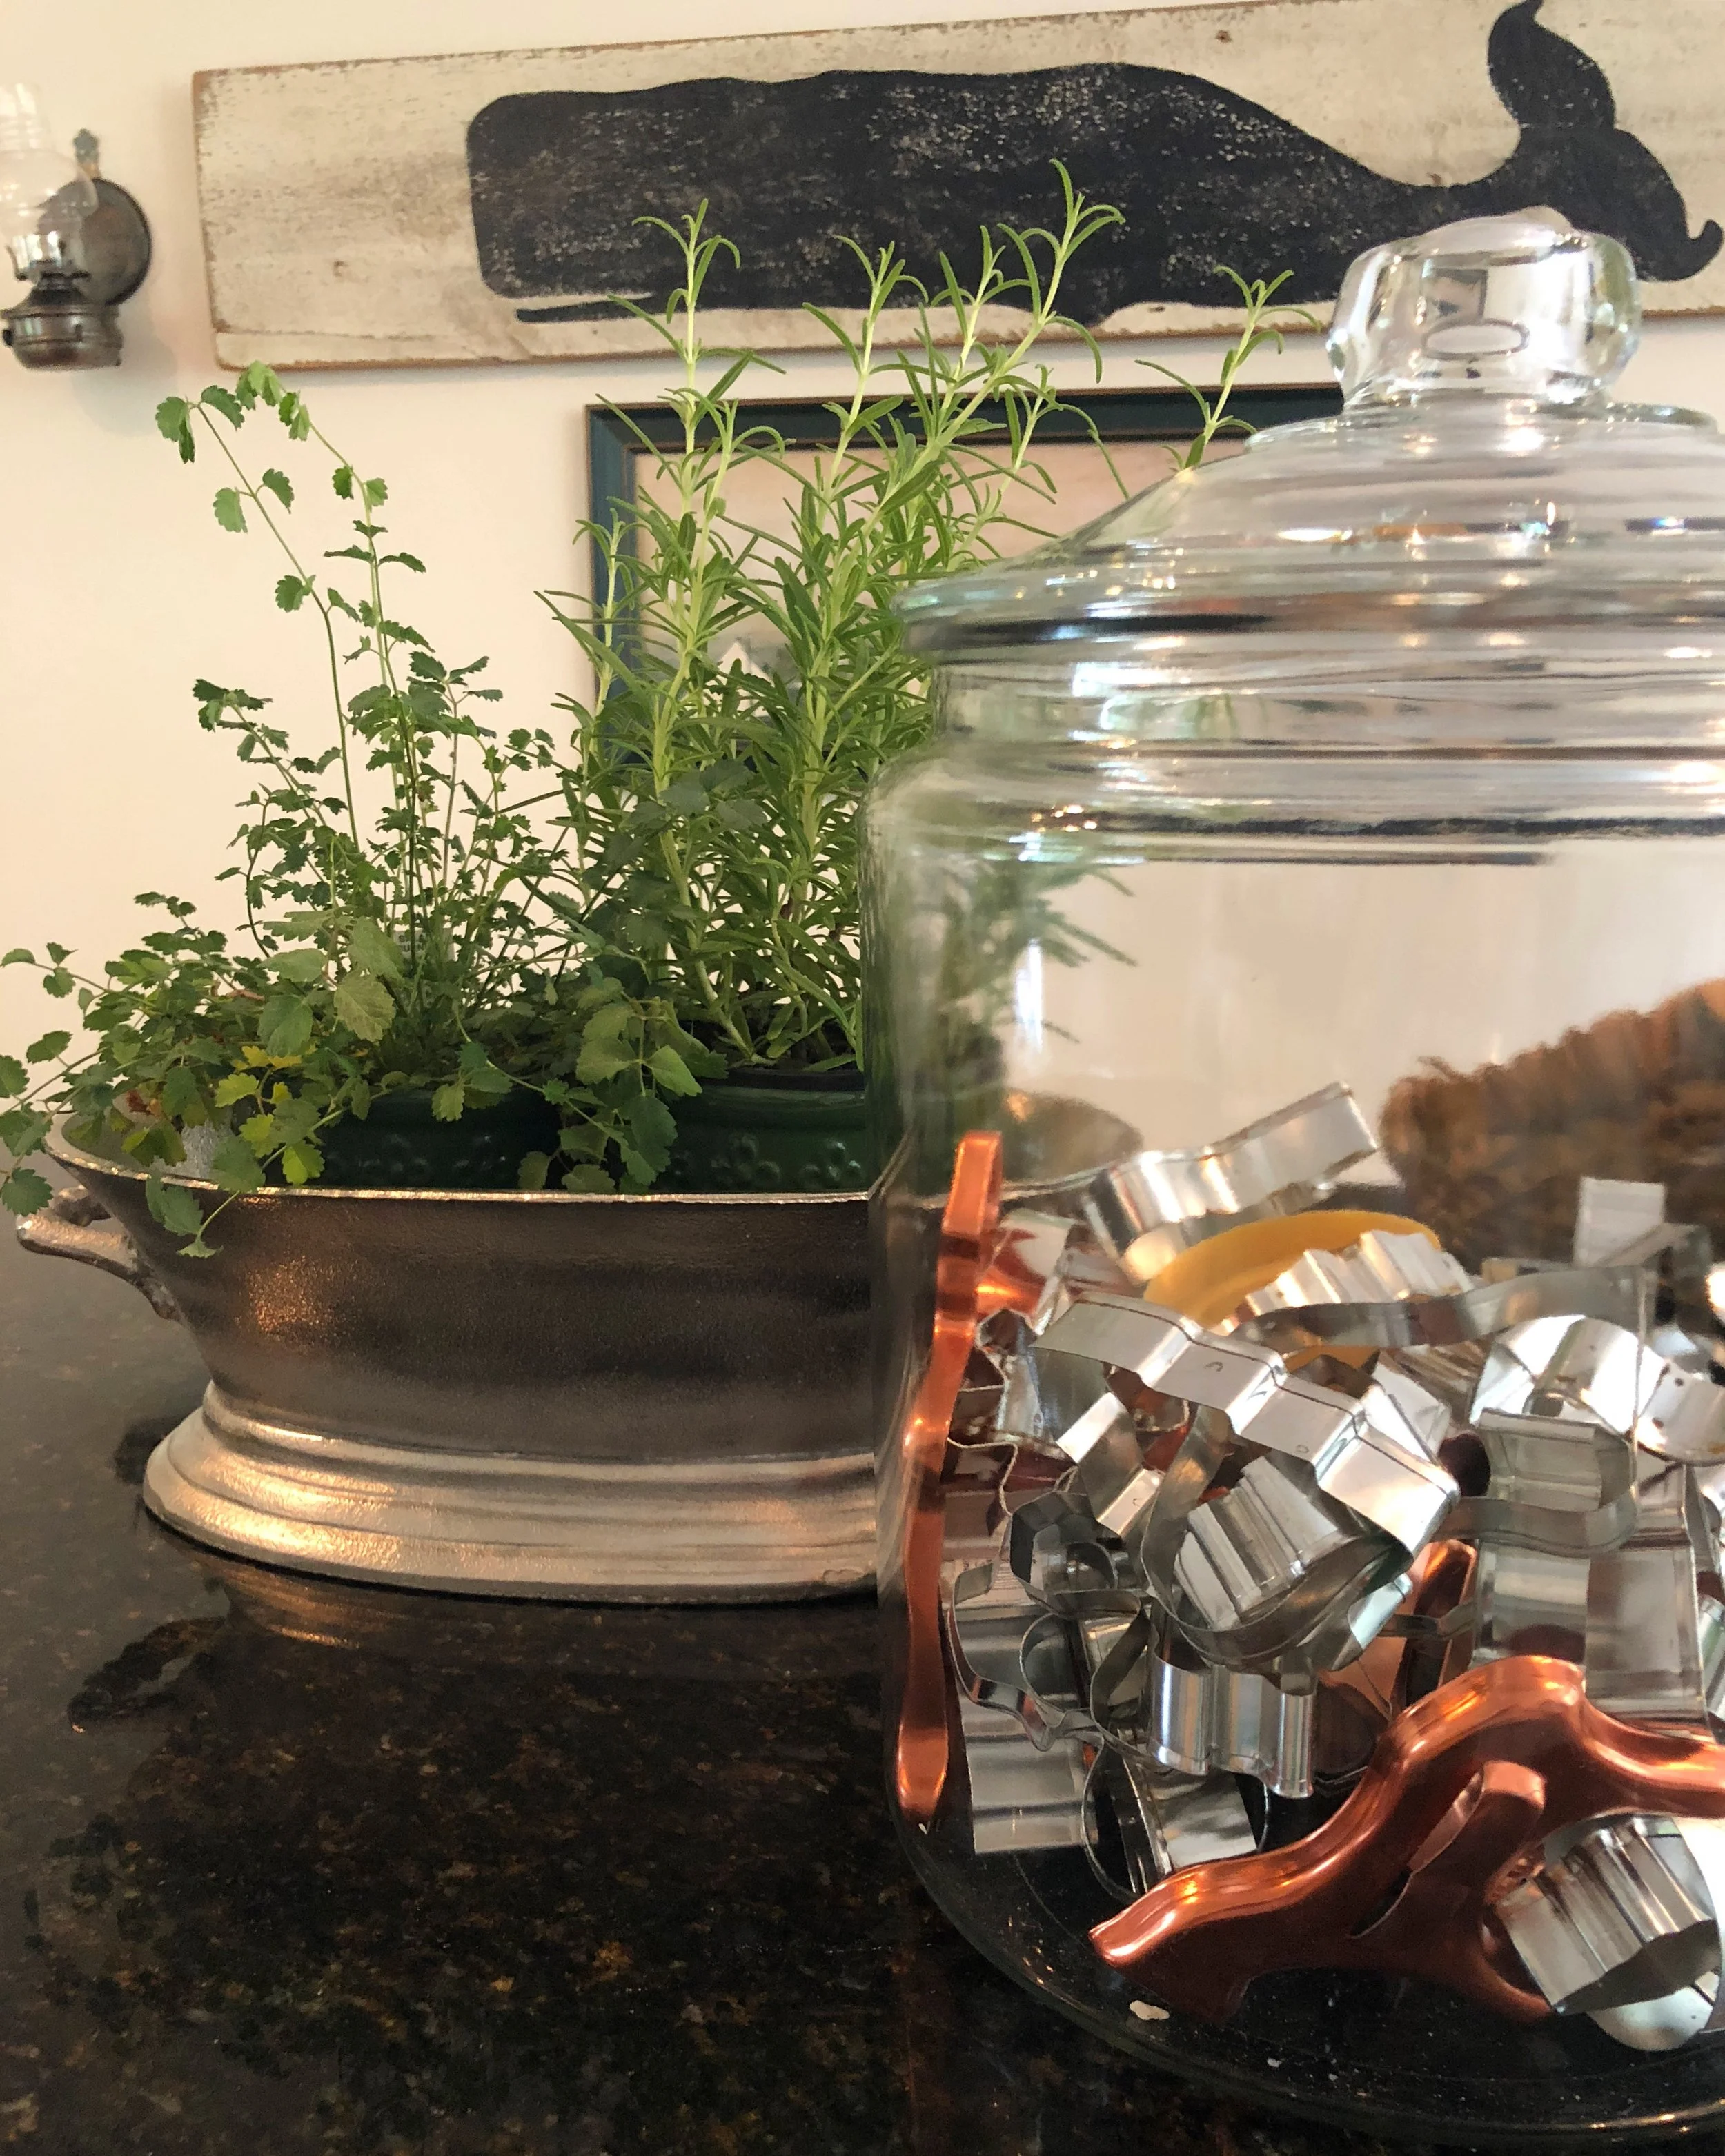
I love keeping my cookie cutters in this 2 gallon cookie jar. It is not only very functional it is decorative too! If you like this idea, large cookie jars can be found at many stores, including thrift stores like where I found mine, but you can also buy them here.
Don't feel you have to only use a circle as your cookie shape, but you do need to use one that does not have small jagged edges. Other options that would work are shapes like hearts or rounded flower cookie cutter like I used here in a recipe.
Bake at 300 degrees for 20 to 30 minutes depending on your oven and watch them carefully and take them out just as you see one or two turn golden on the edges. Do not let them over cook in the oven. They will harden more once they cool. Keep in mind the recipe I followed had them bake for 40 to 50 minutes and that was way too long for my oven. Yours might need this long.
Once out of the oven, I slid my parchment paper and cookies right onto a cooling rack and let cool to set.
I could tell as soon as they came out of the oven this batch was going to be perfect and my mouth was watering.

