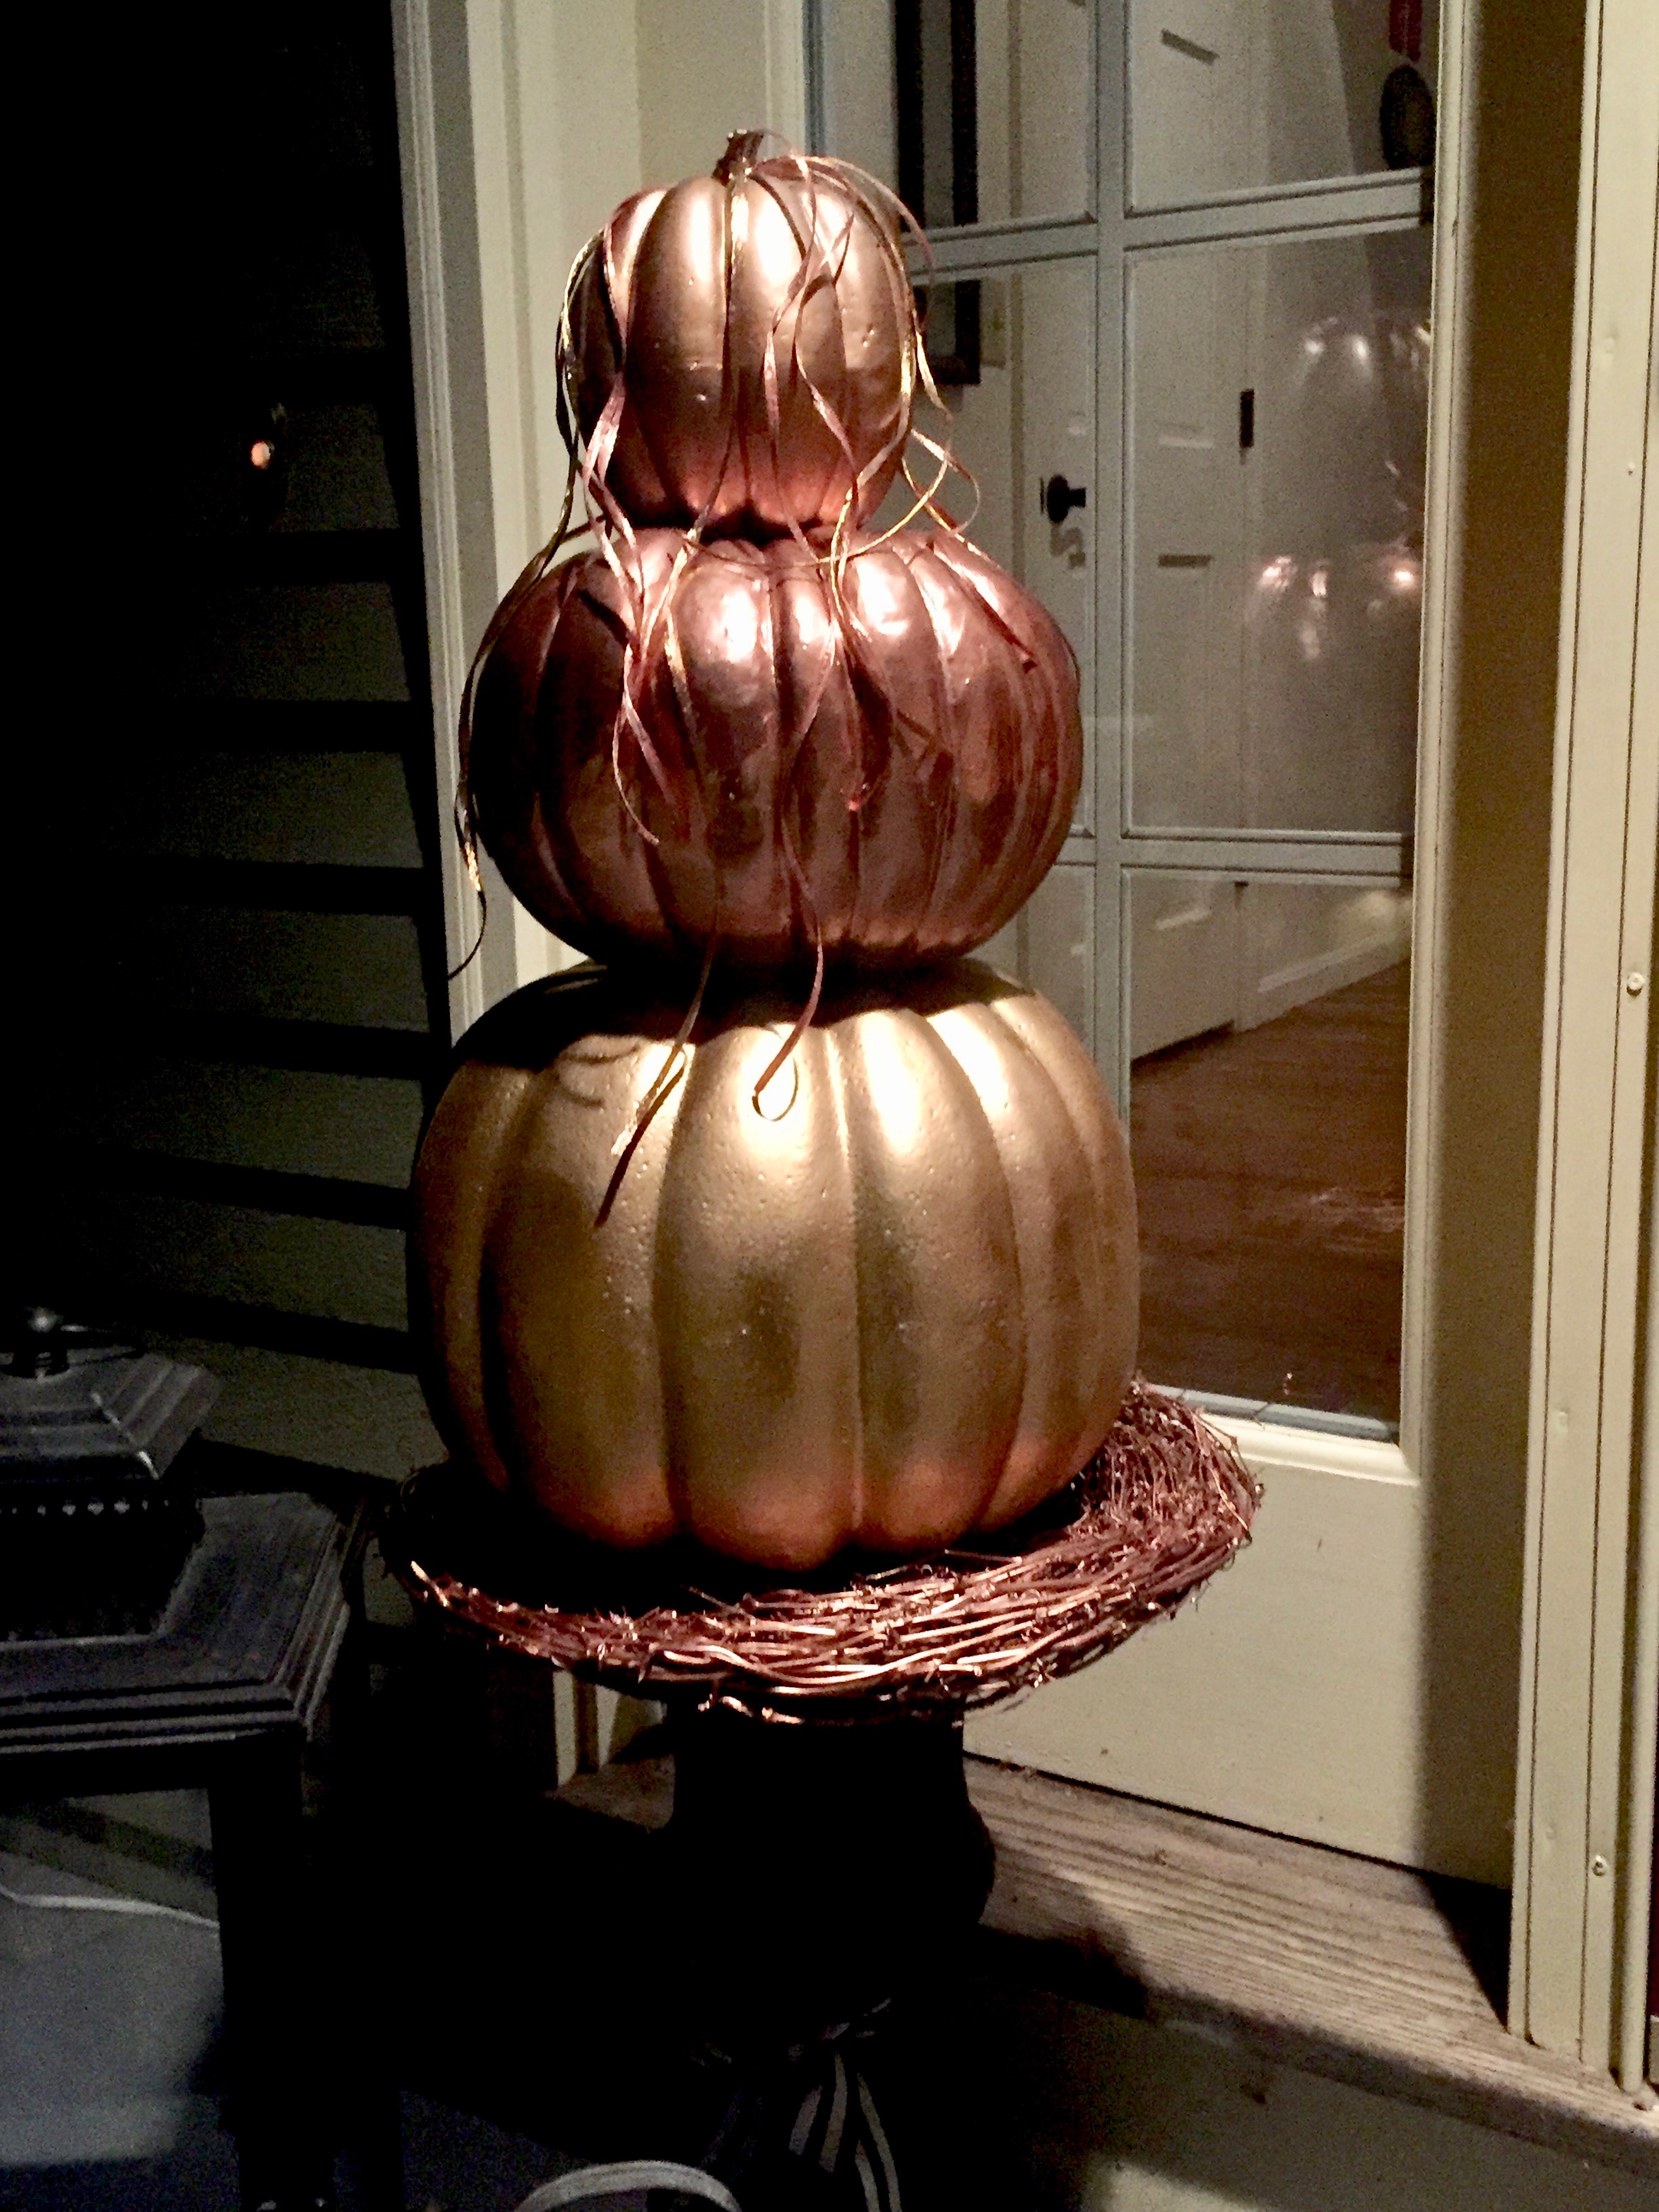
How to make metallic pumpkin topiaries with funkins
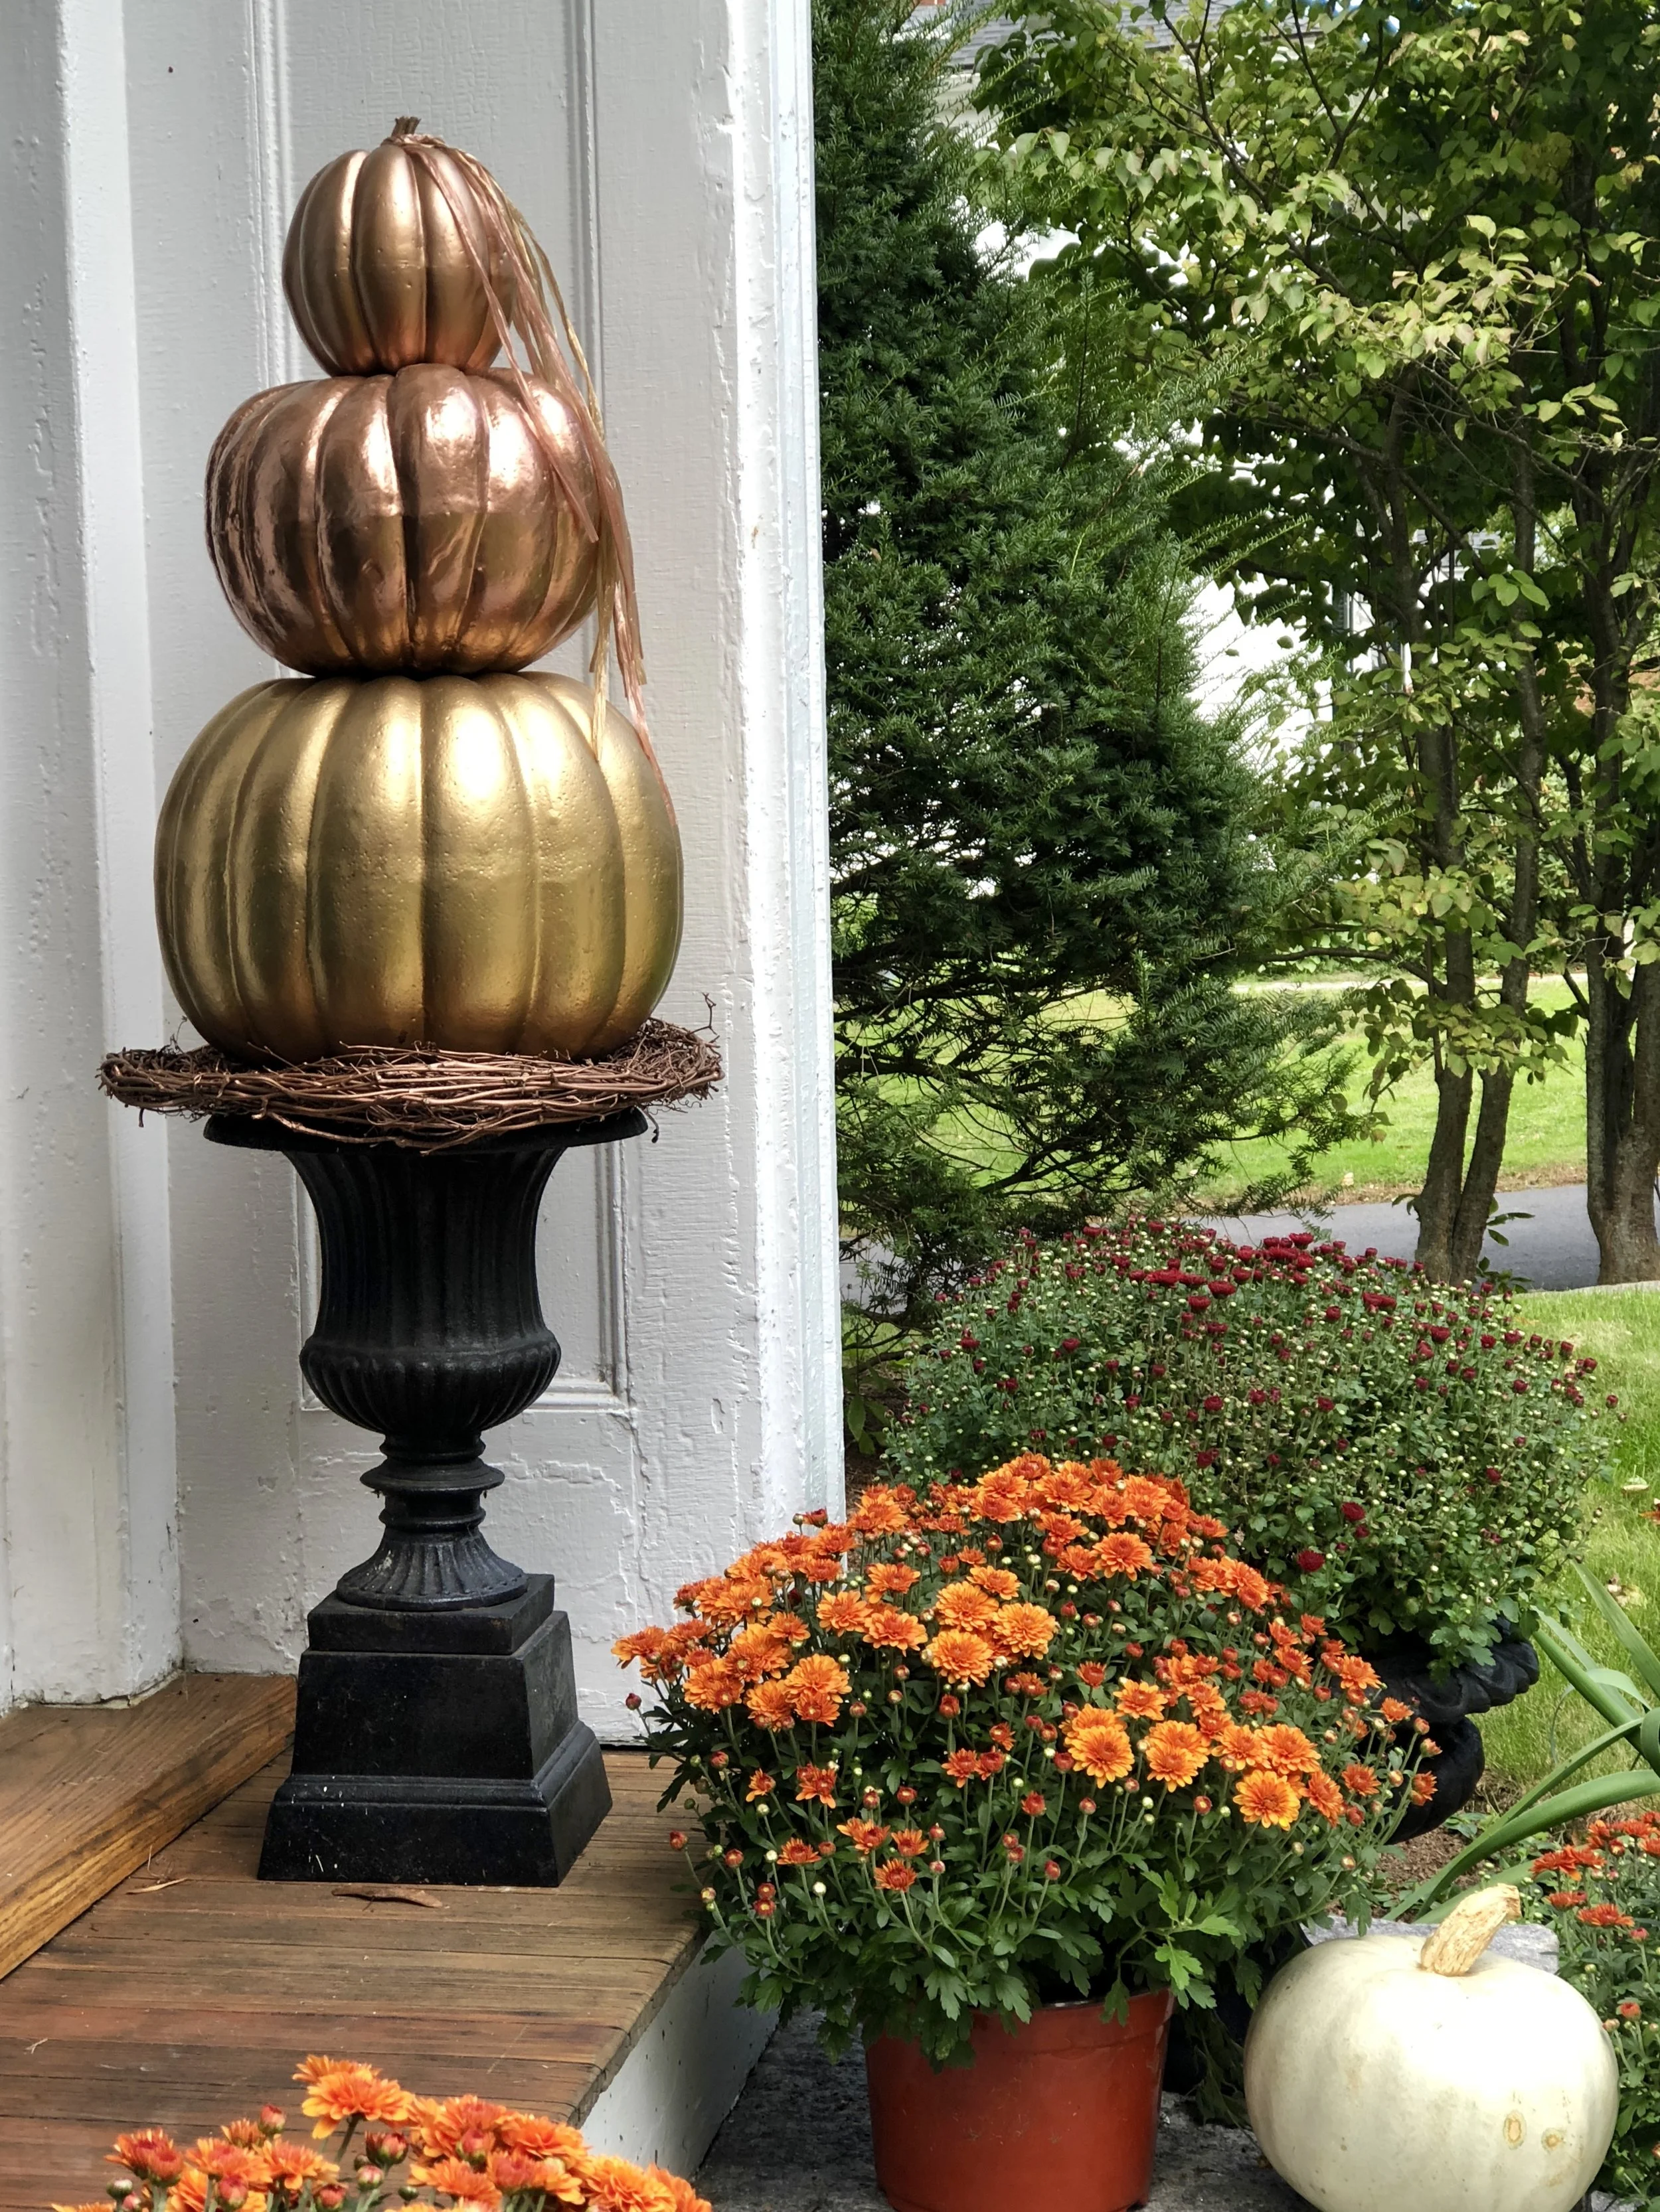
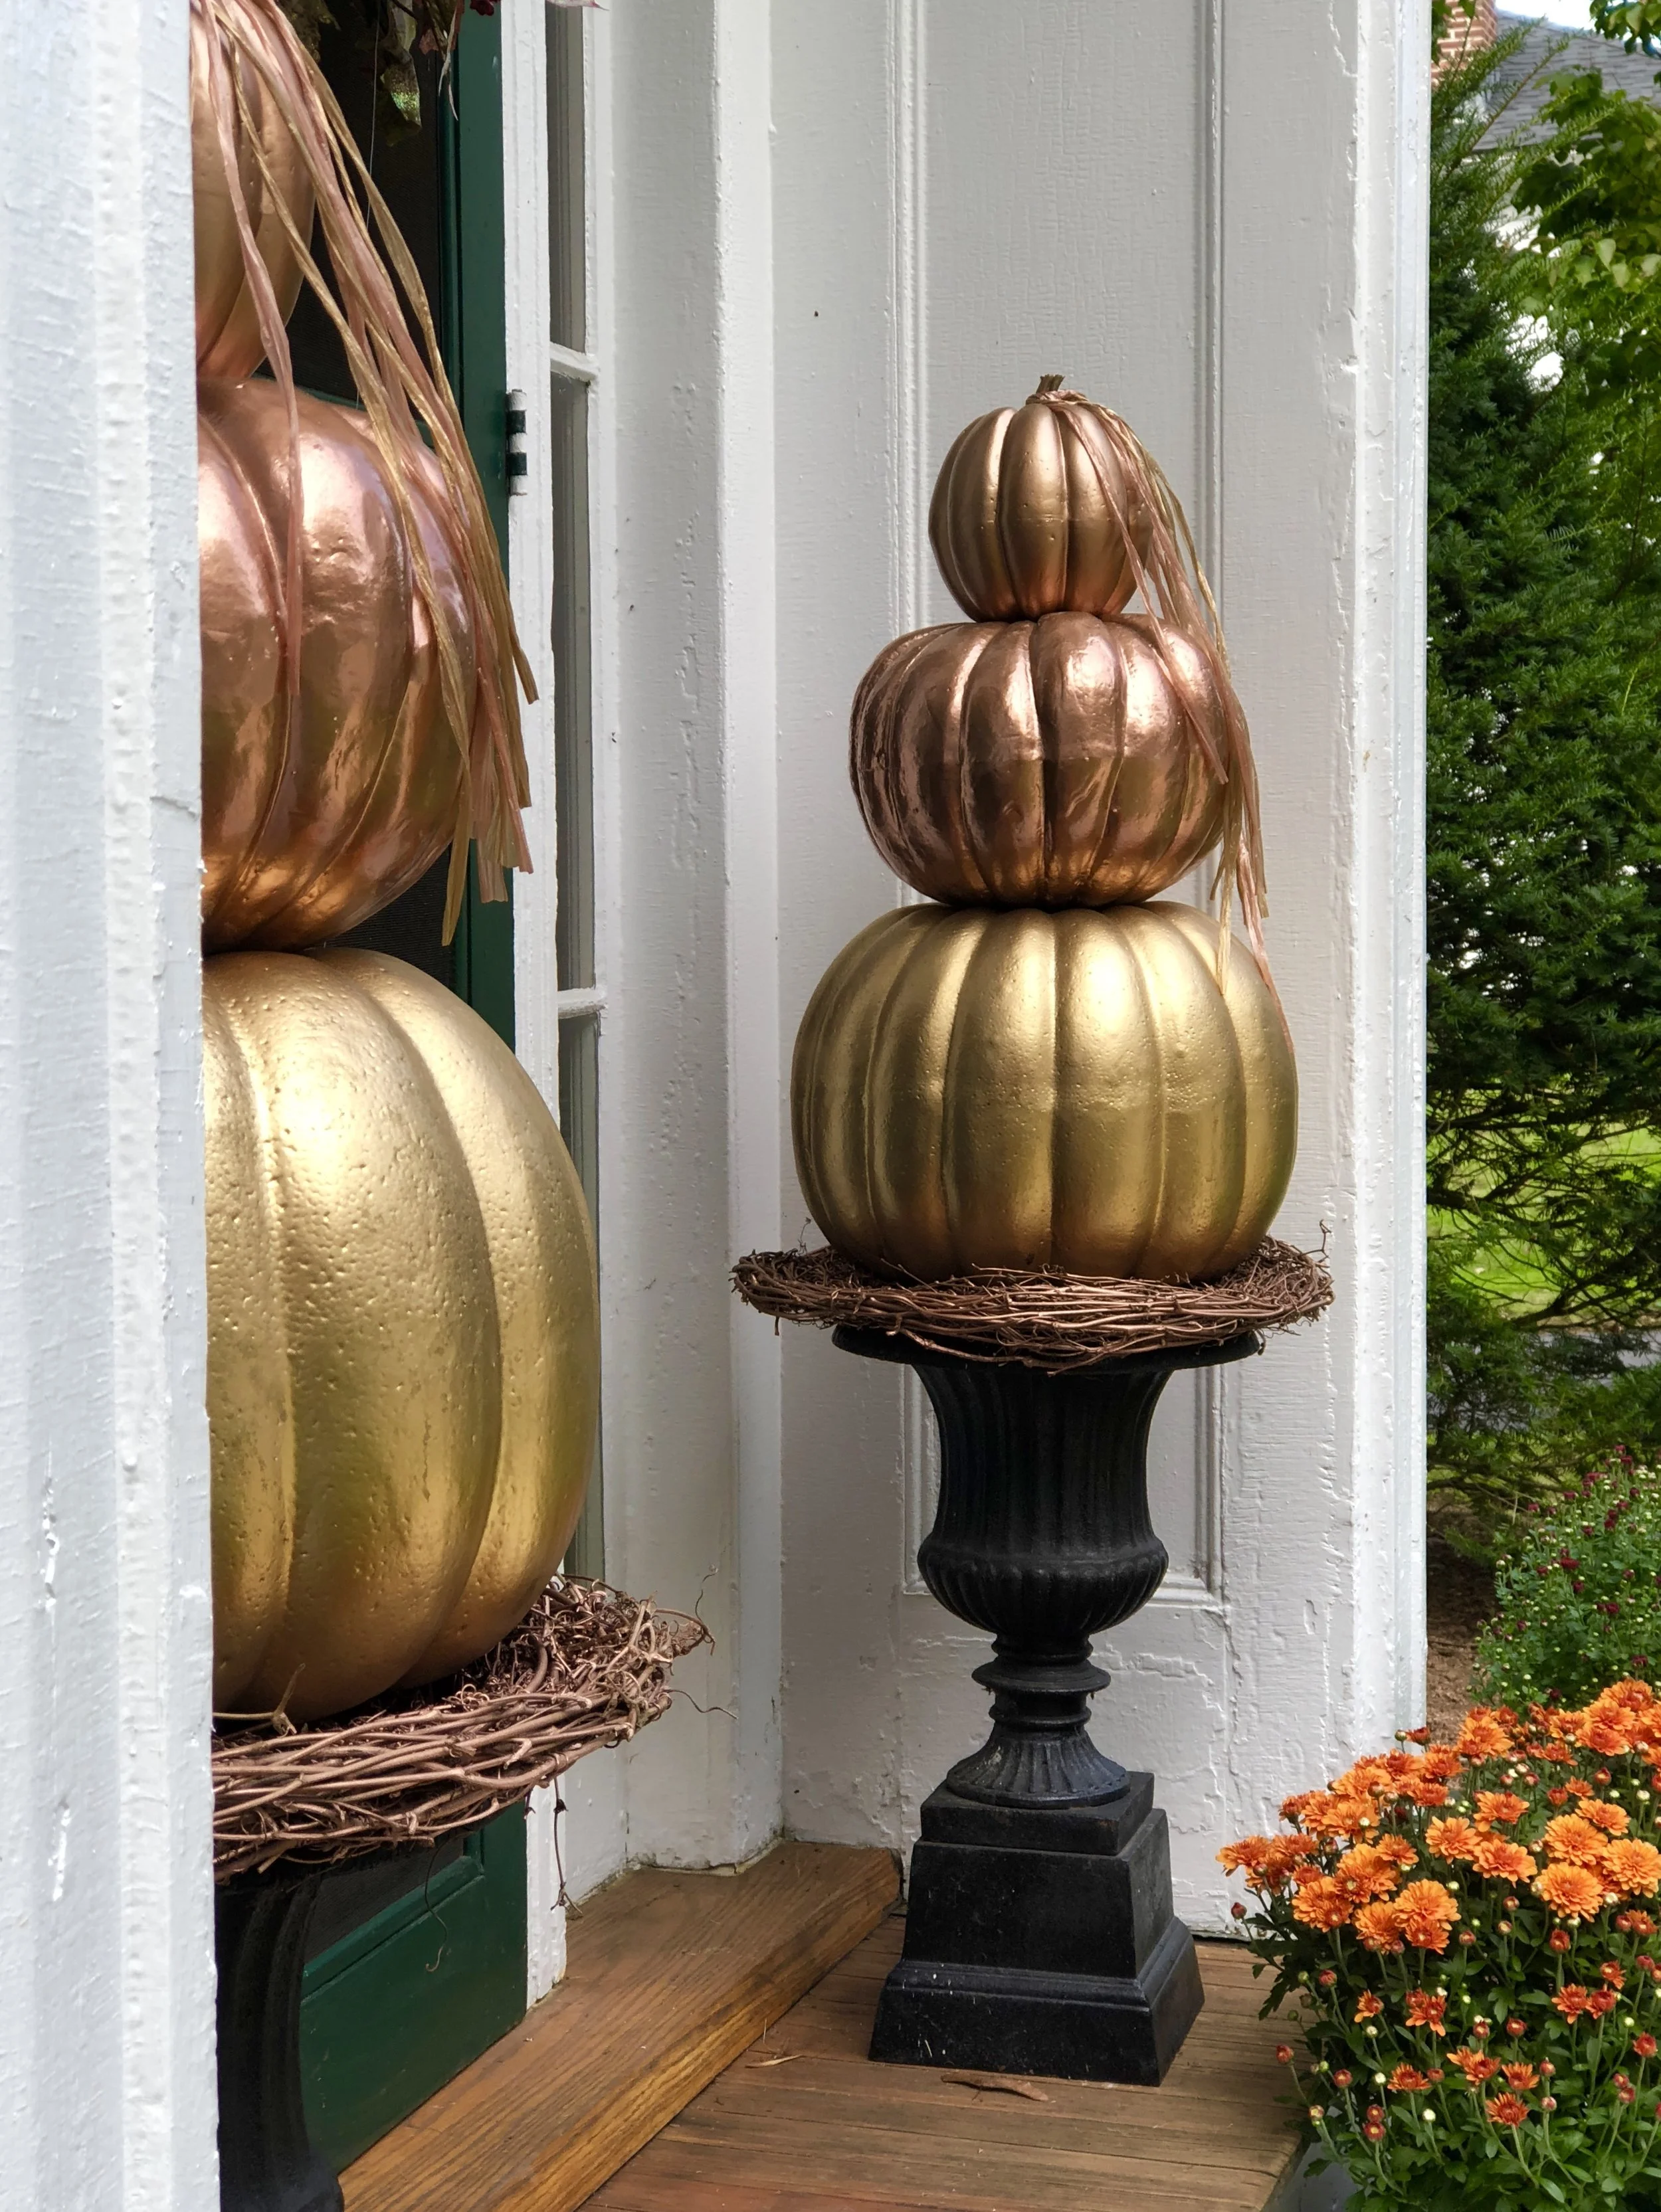
When I posted my most recent photos of these New England style fall pumpkin topiaries, I only had two showing since I thought the three I had made for our previous home would overwhelm the portico, but once I added the mums, the three worked perfectly. Knowing me, my Mr. has already said “ it’s only a matter of time before you paint the largest pumpkins to match the other two”. He is so right! I will be, but luckily for the pumpkin I have a few other projects I’m working on such as painting our first floor bathroom.
At the request of a follower who could not find my older post on how I made the topiaries, I decided to post these updated photos, along with some old photos of what the pumpkins looked like before I sprayed them.
Grapevine wreaths were painted copper to cradle the pumpkins on the urns and metallic raffia ribbon, that I used on shopping bags and had left over from my retail store, was used to top the pumpkins.
The photos above were taking during an early morning, and the sun was playing just right on the pumpkins and mums. I had just planted the perennial mums the day before and I am still going to be adding more containers and corn stalks. To see more photos of our New England front entry, click here.
Before I show you the few steps that I actually remembered to photograph while spray painting, below are a few old photos of what the pumpkins looked like before I painted them metallic. I found all of my pumpkins at a local Christmas Tree Shop, but they can be found at many craft and home stores.
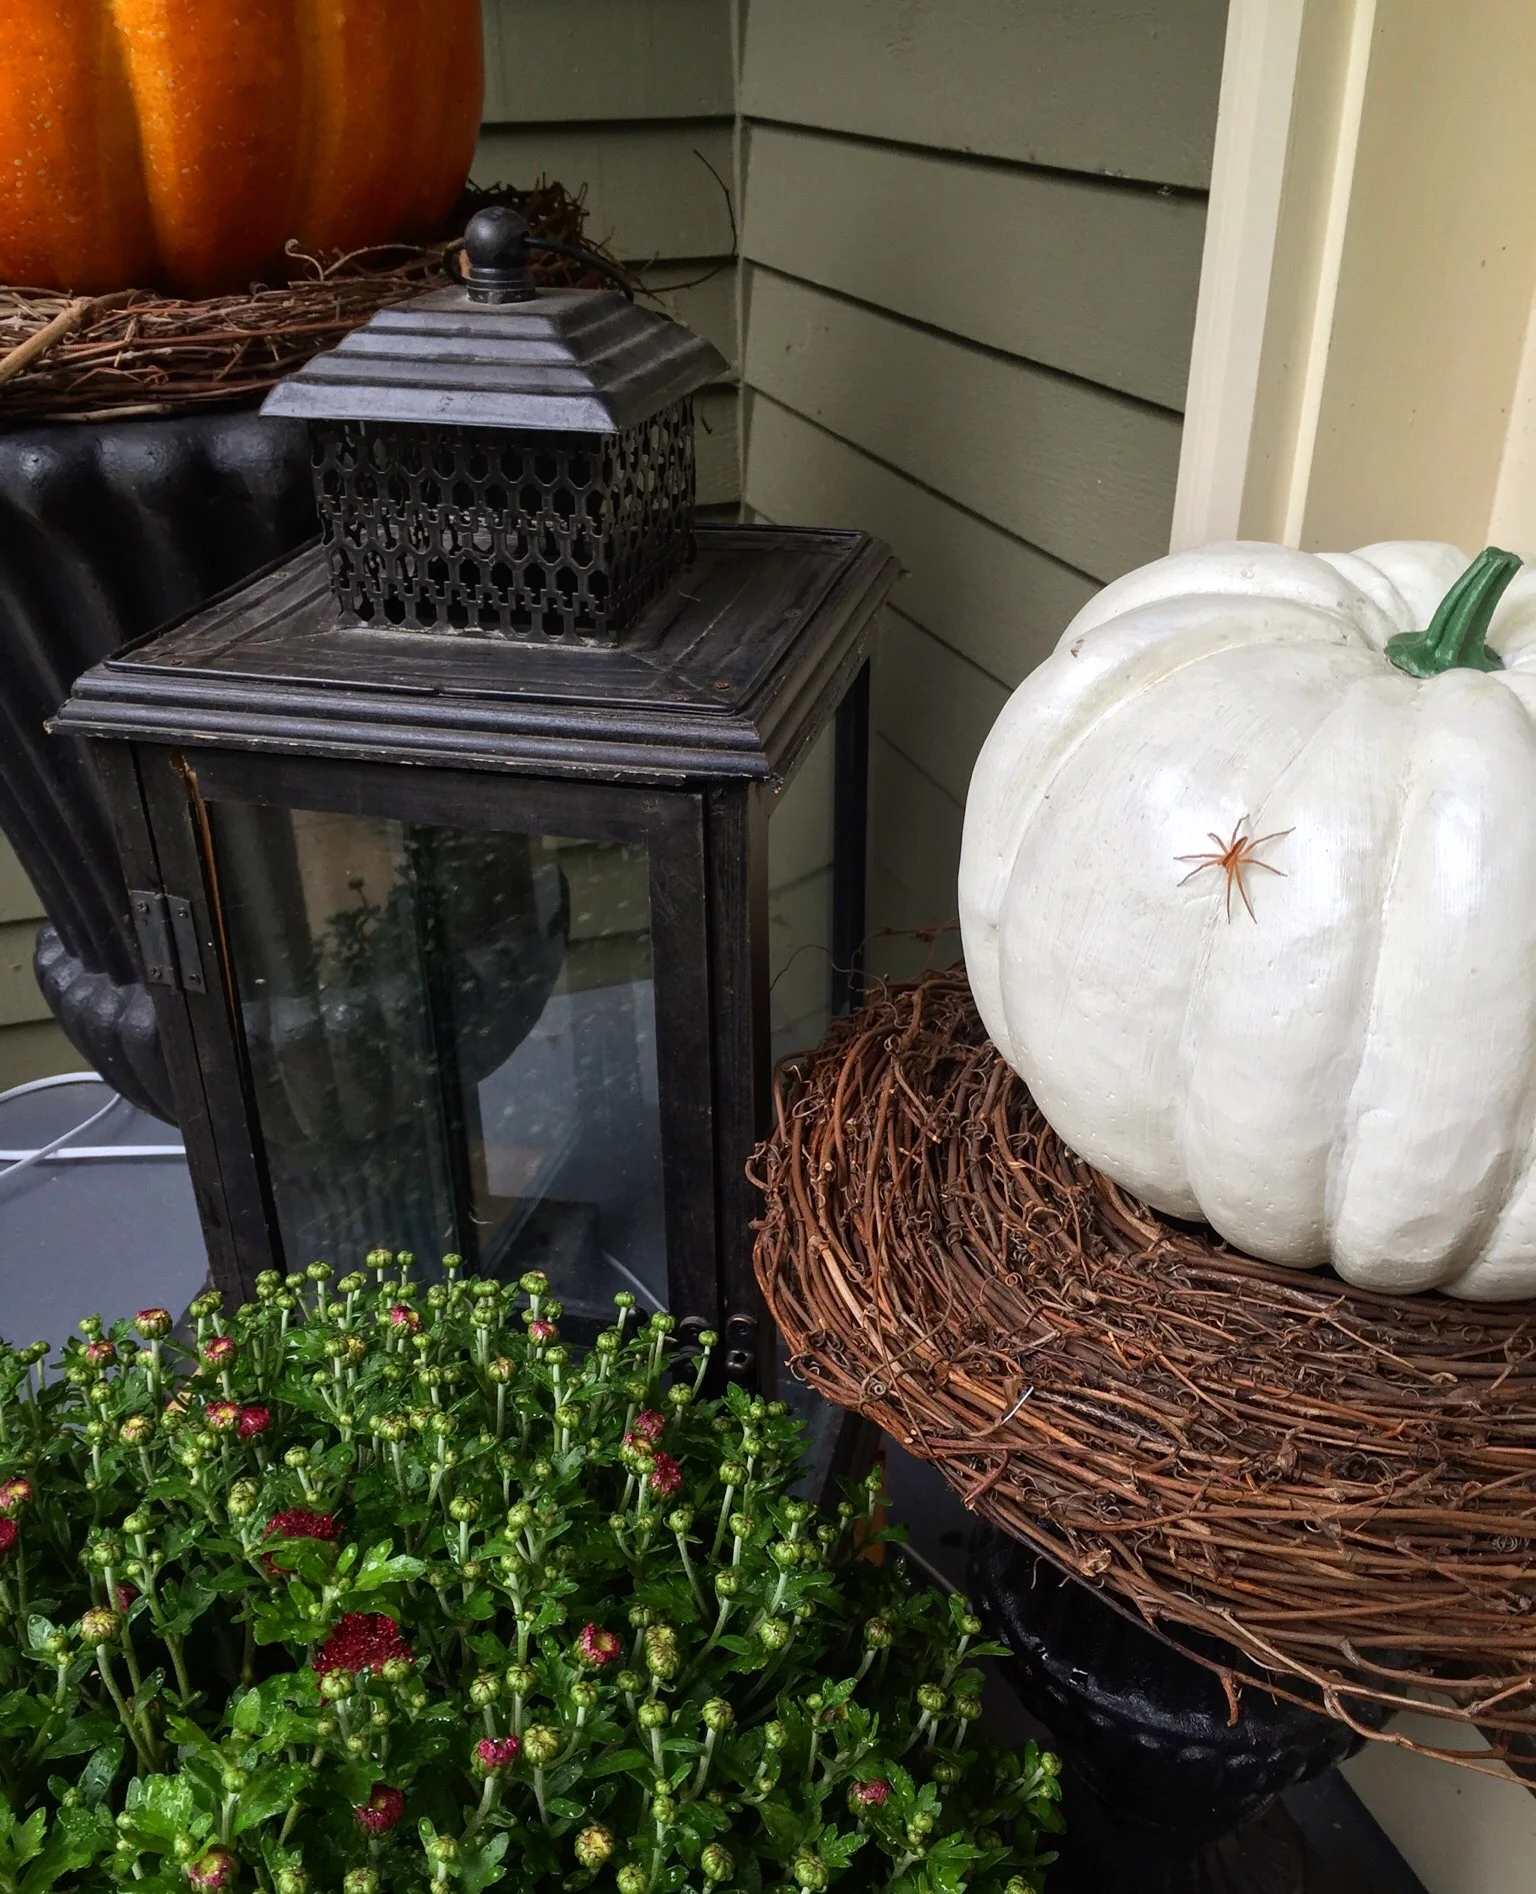
No fake spiders needed here! Yikes!
This is what the funkins looked like a few years back before I spray painted them.
A Raven was added to the beginning of this Halloween vignette along with some faux Spanish moss. I just noticed that this photo also shows our urns before I spray painted them black.
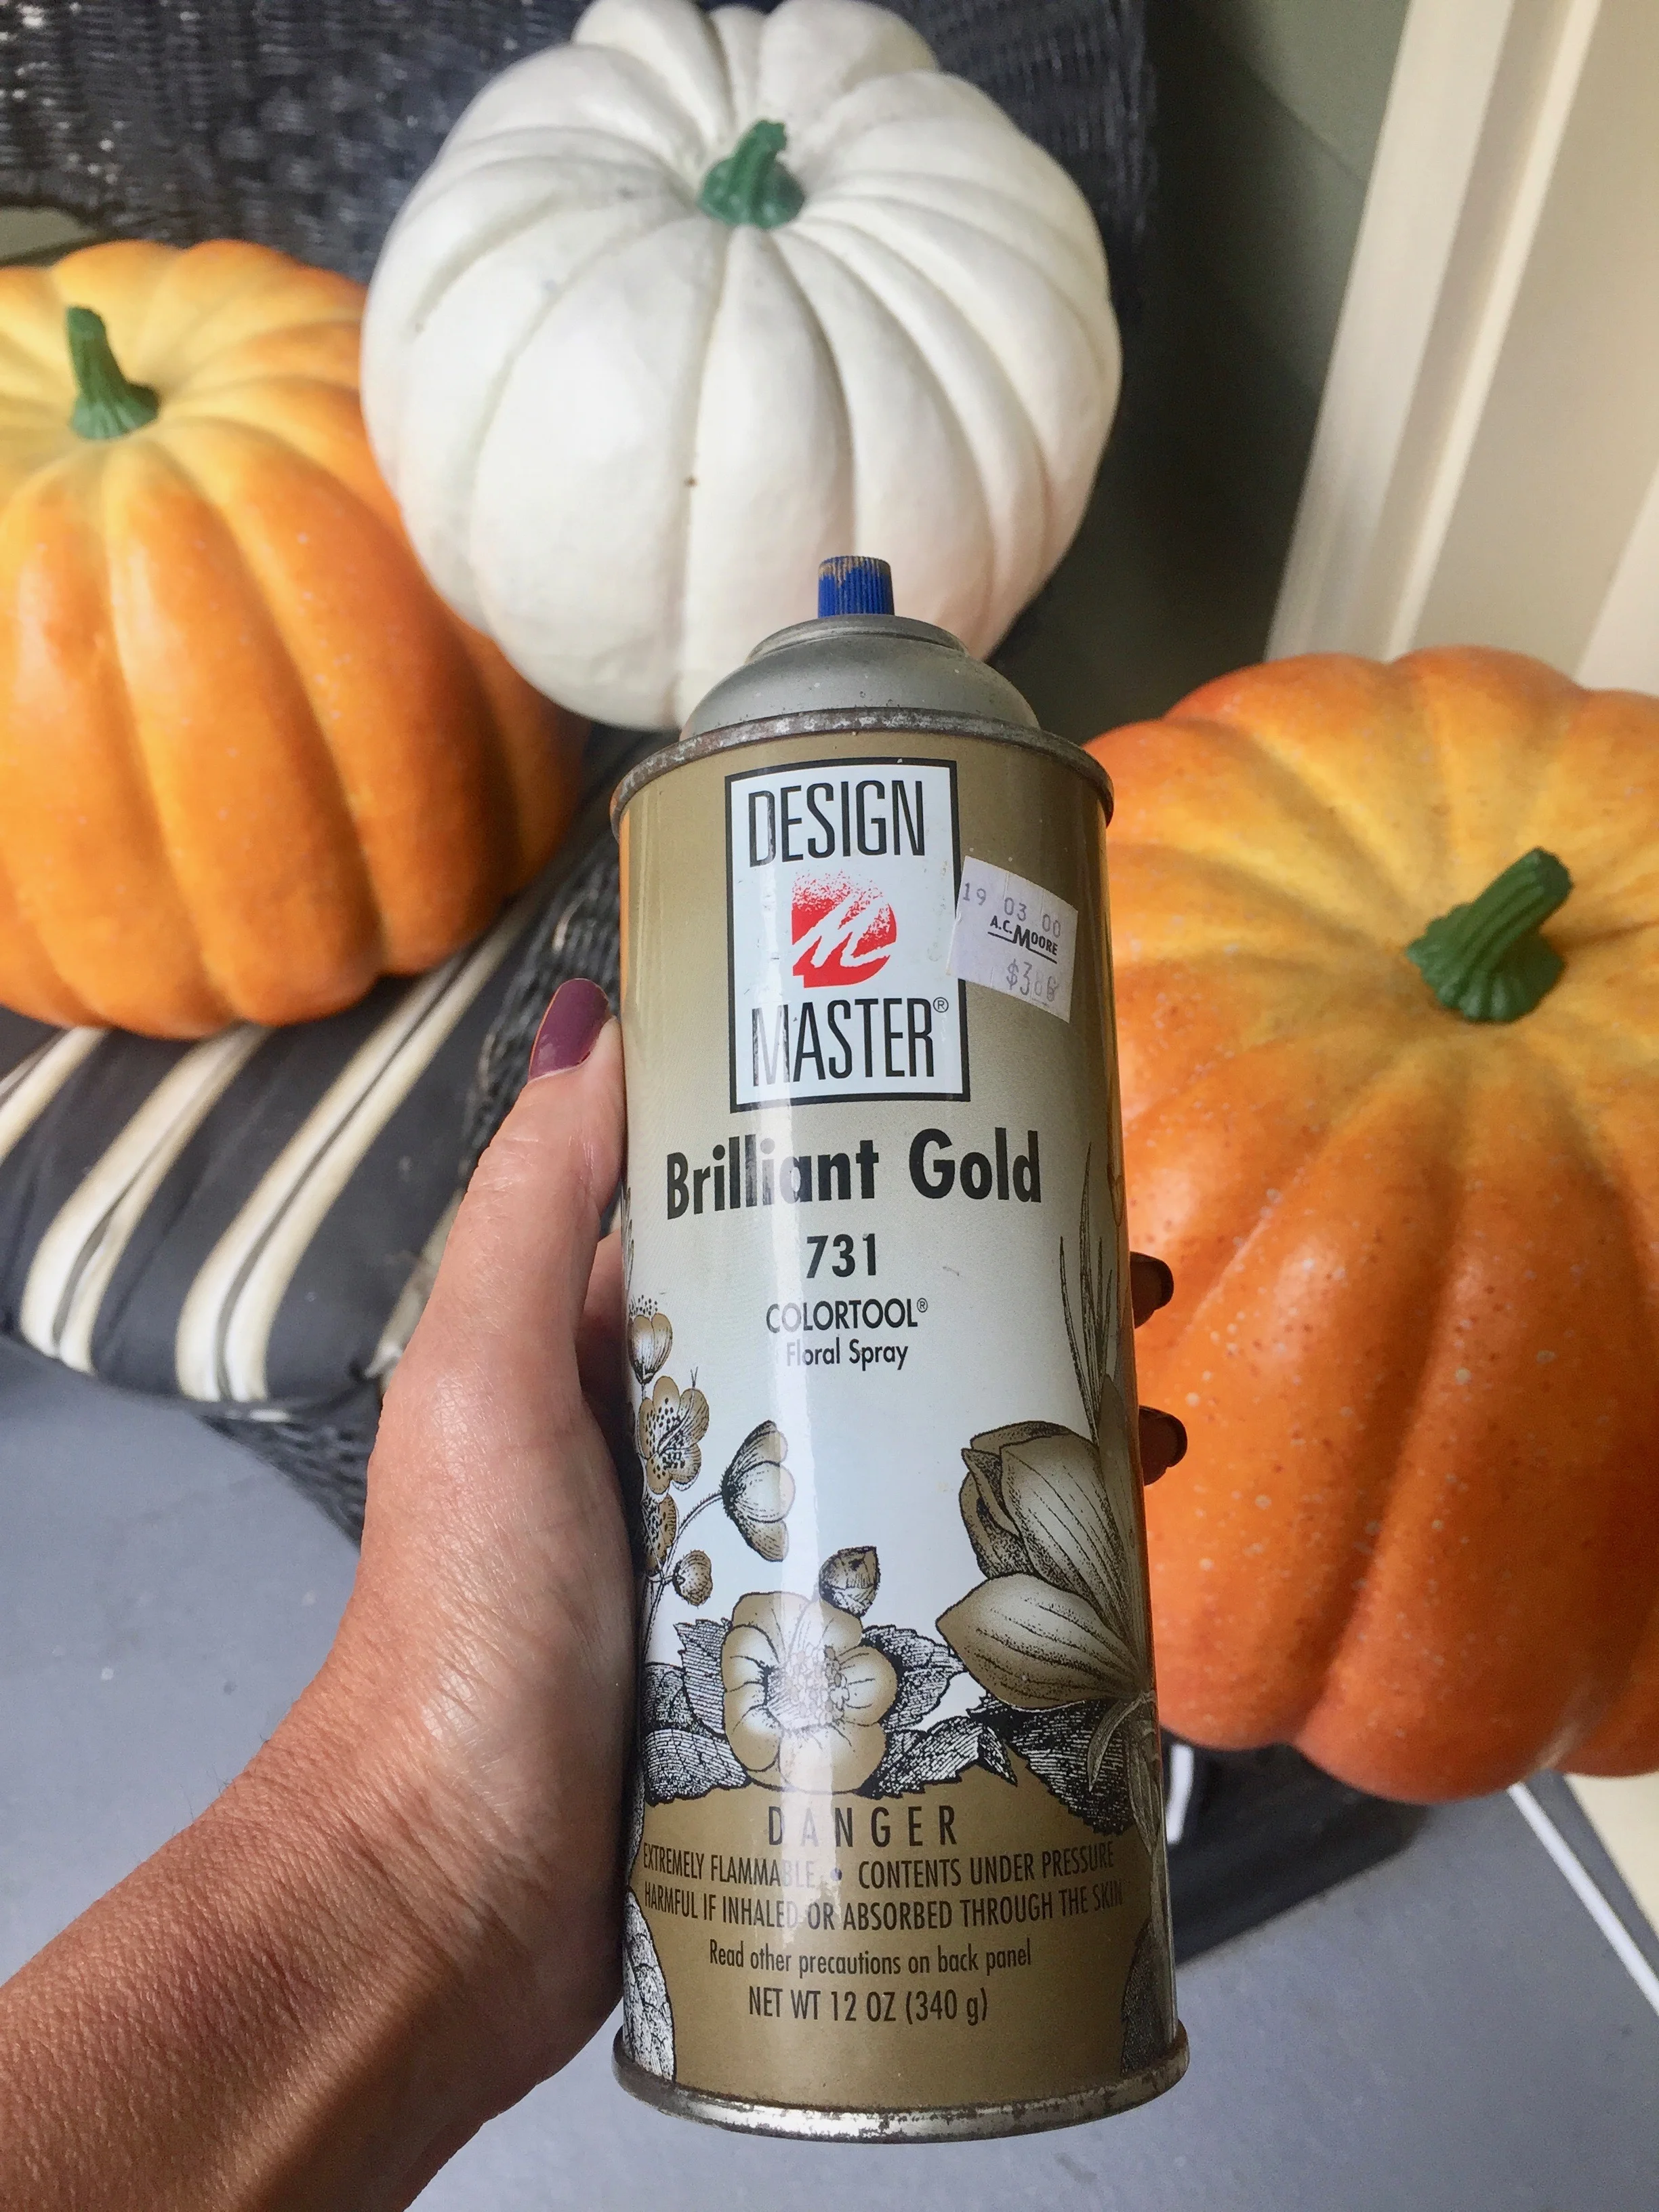
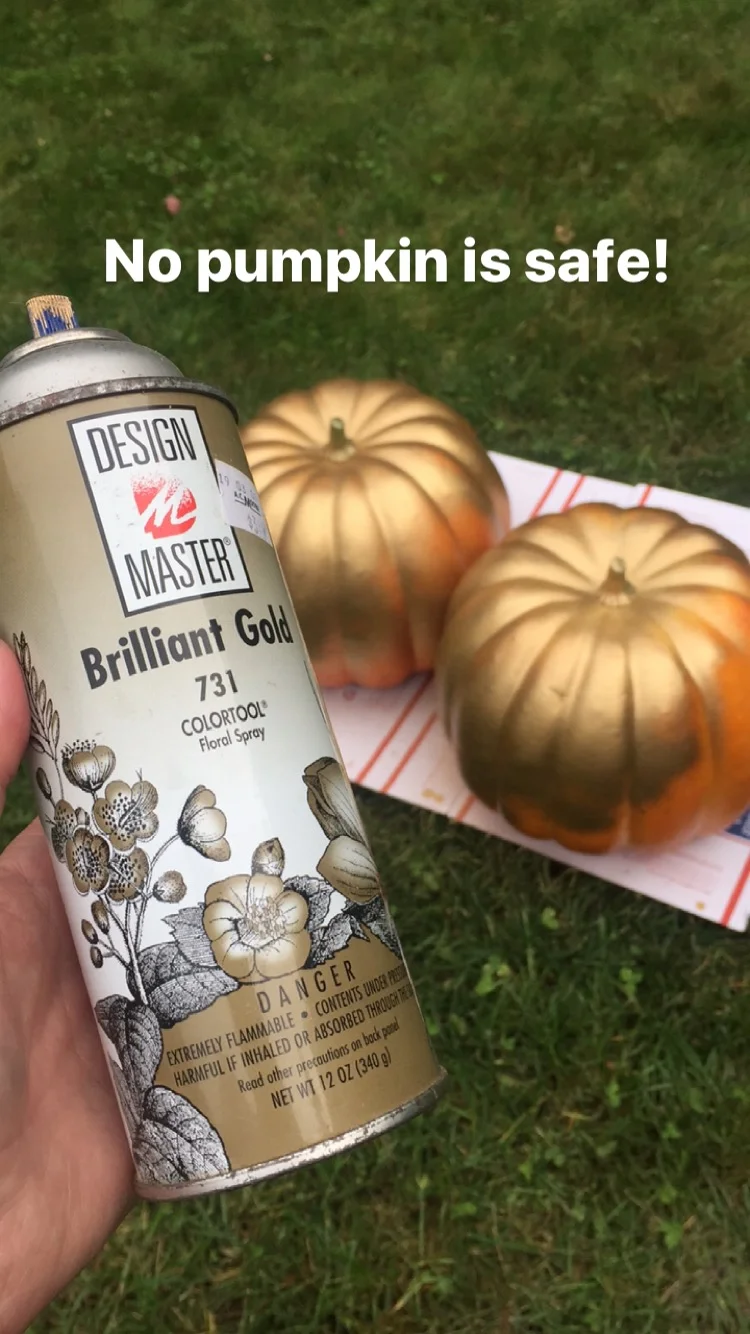
I used several metallic paint colors for the pumpkins including copper, brilliant gold, and antique gold.
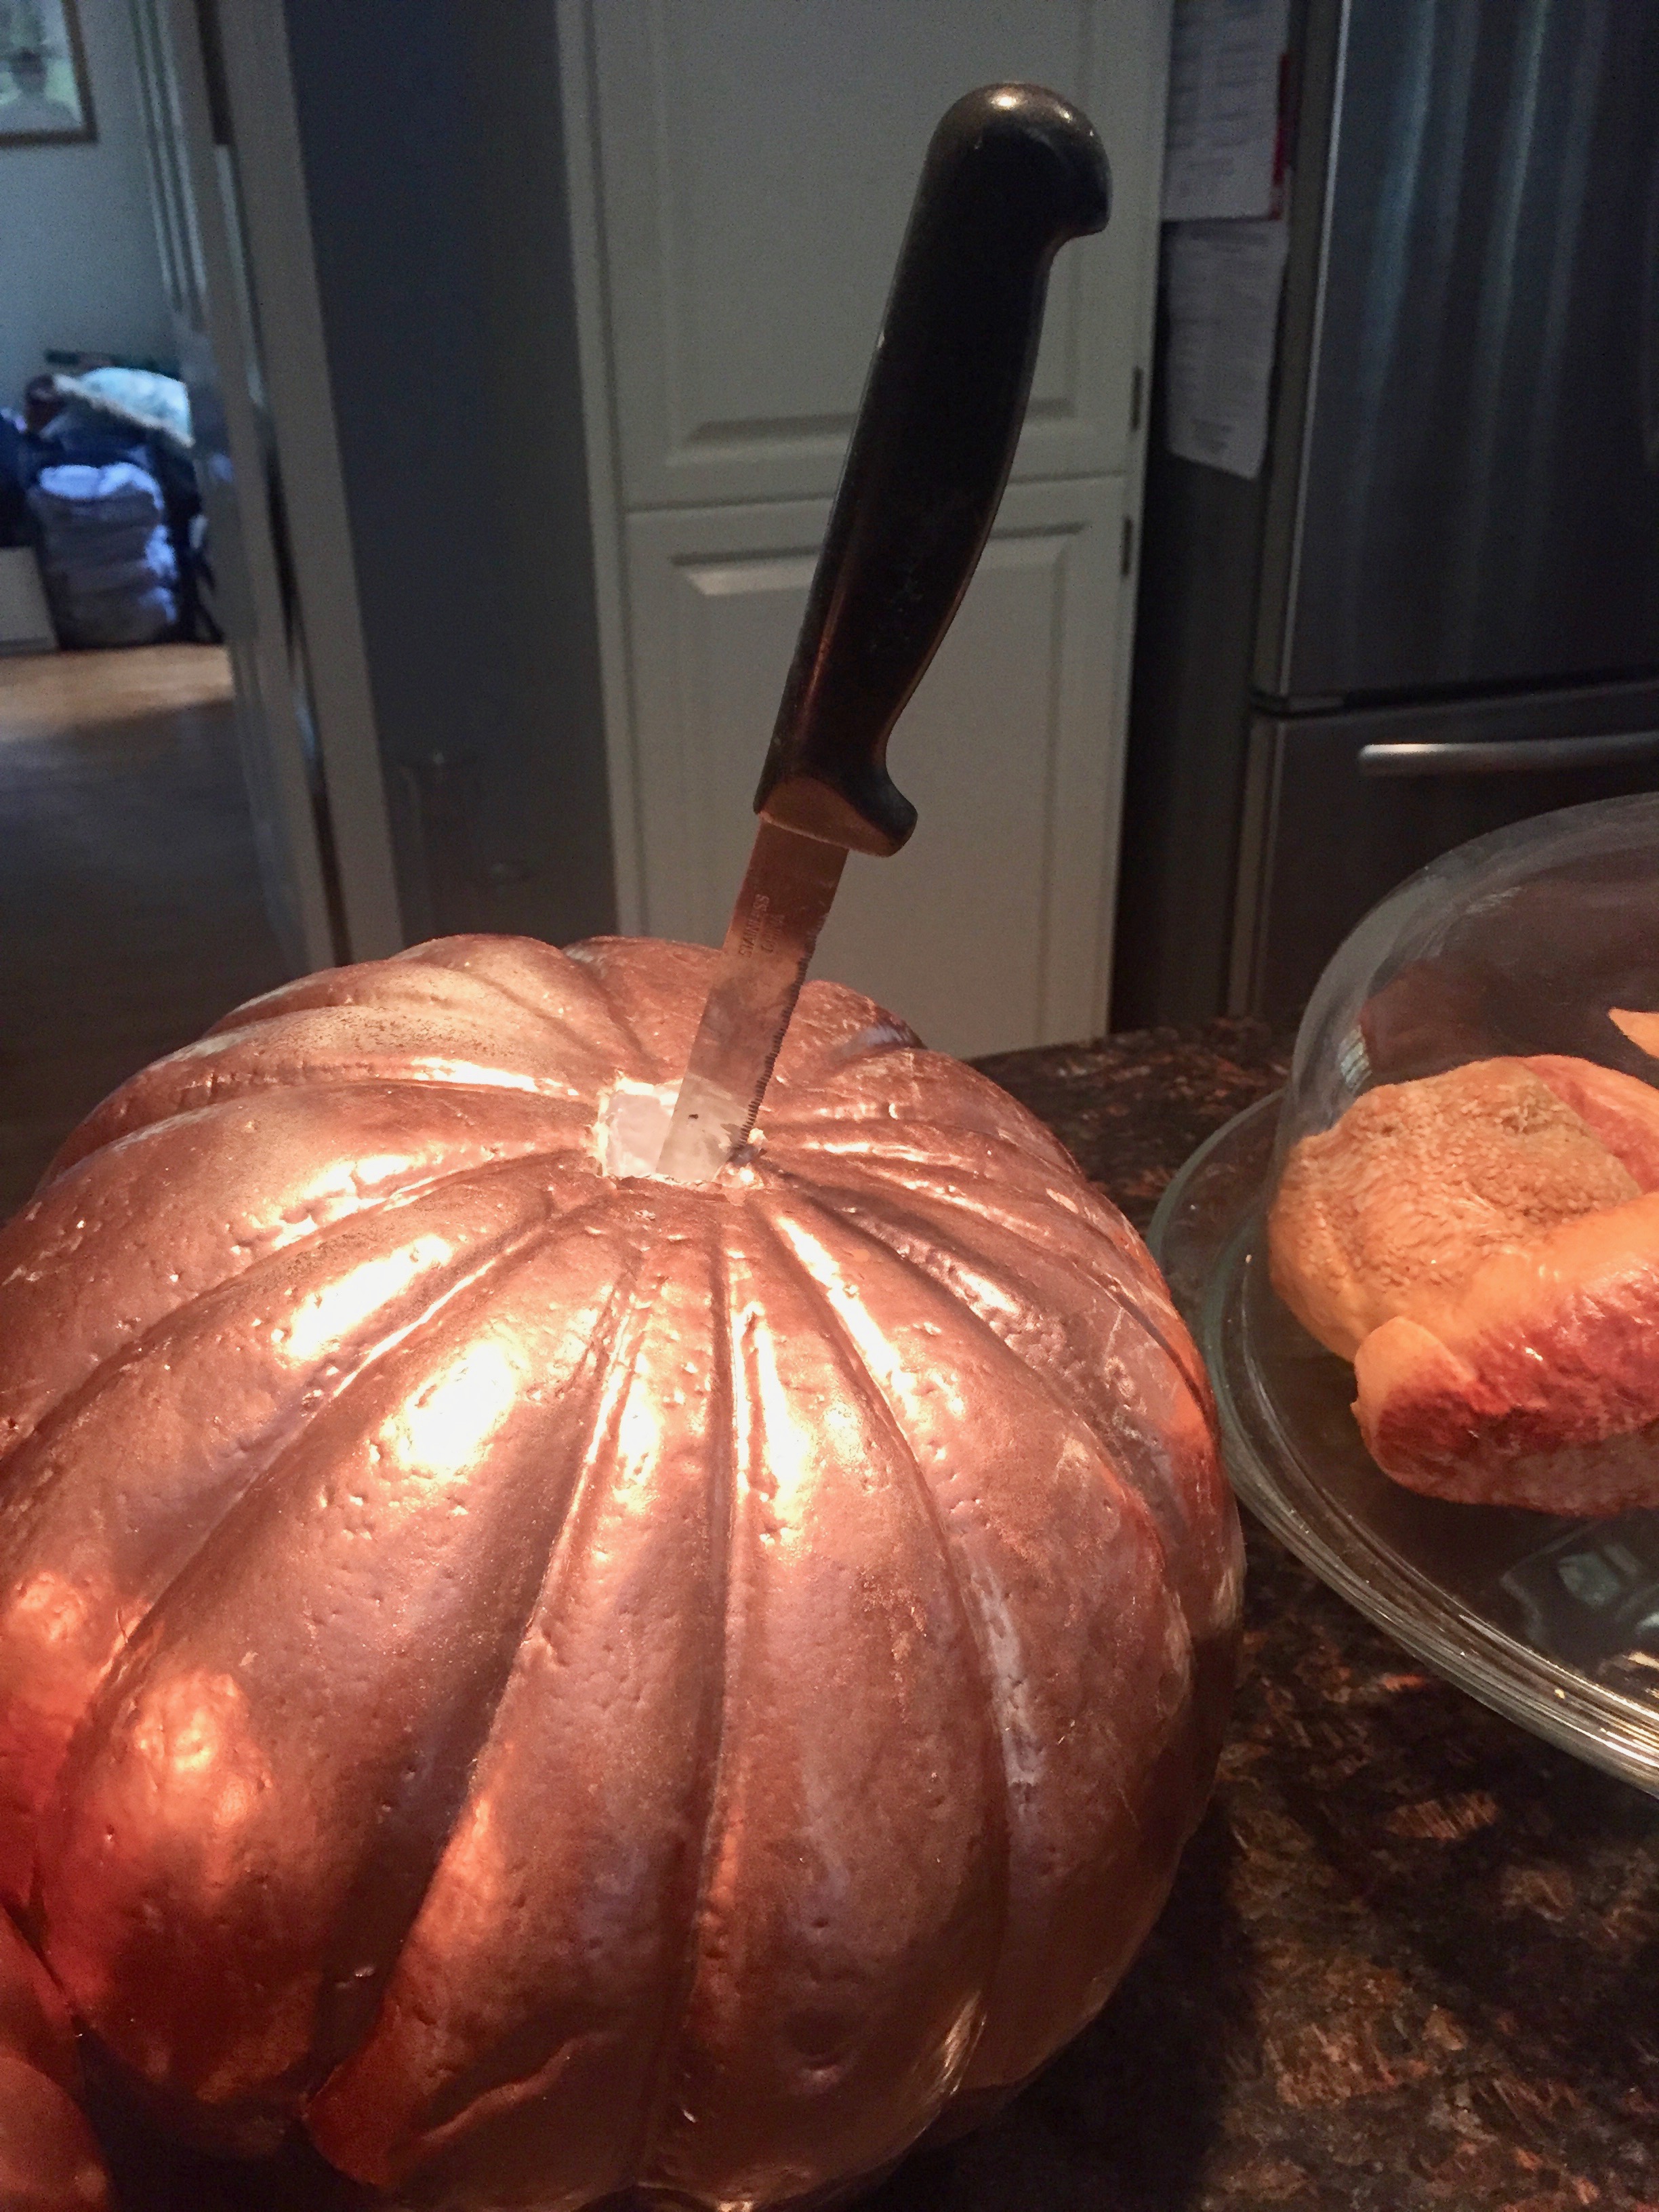
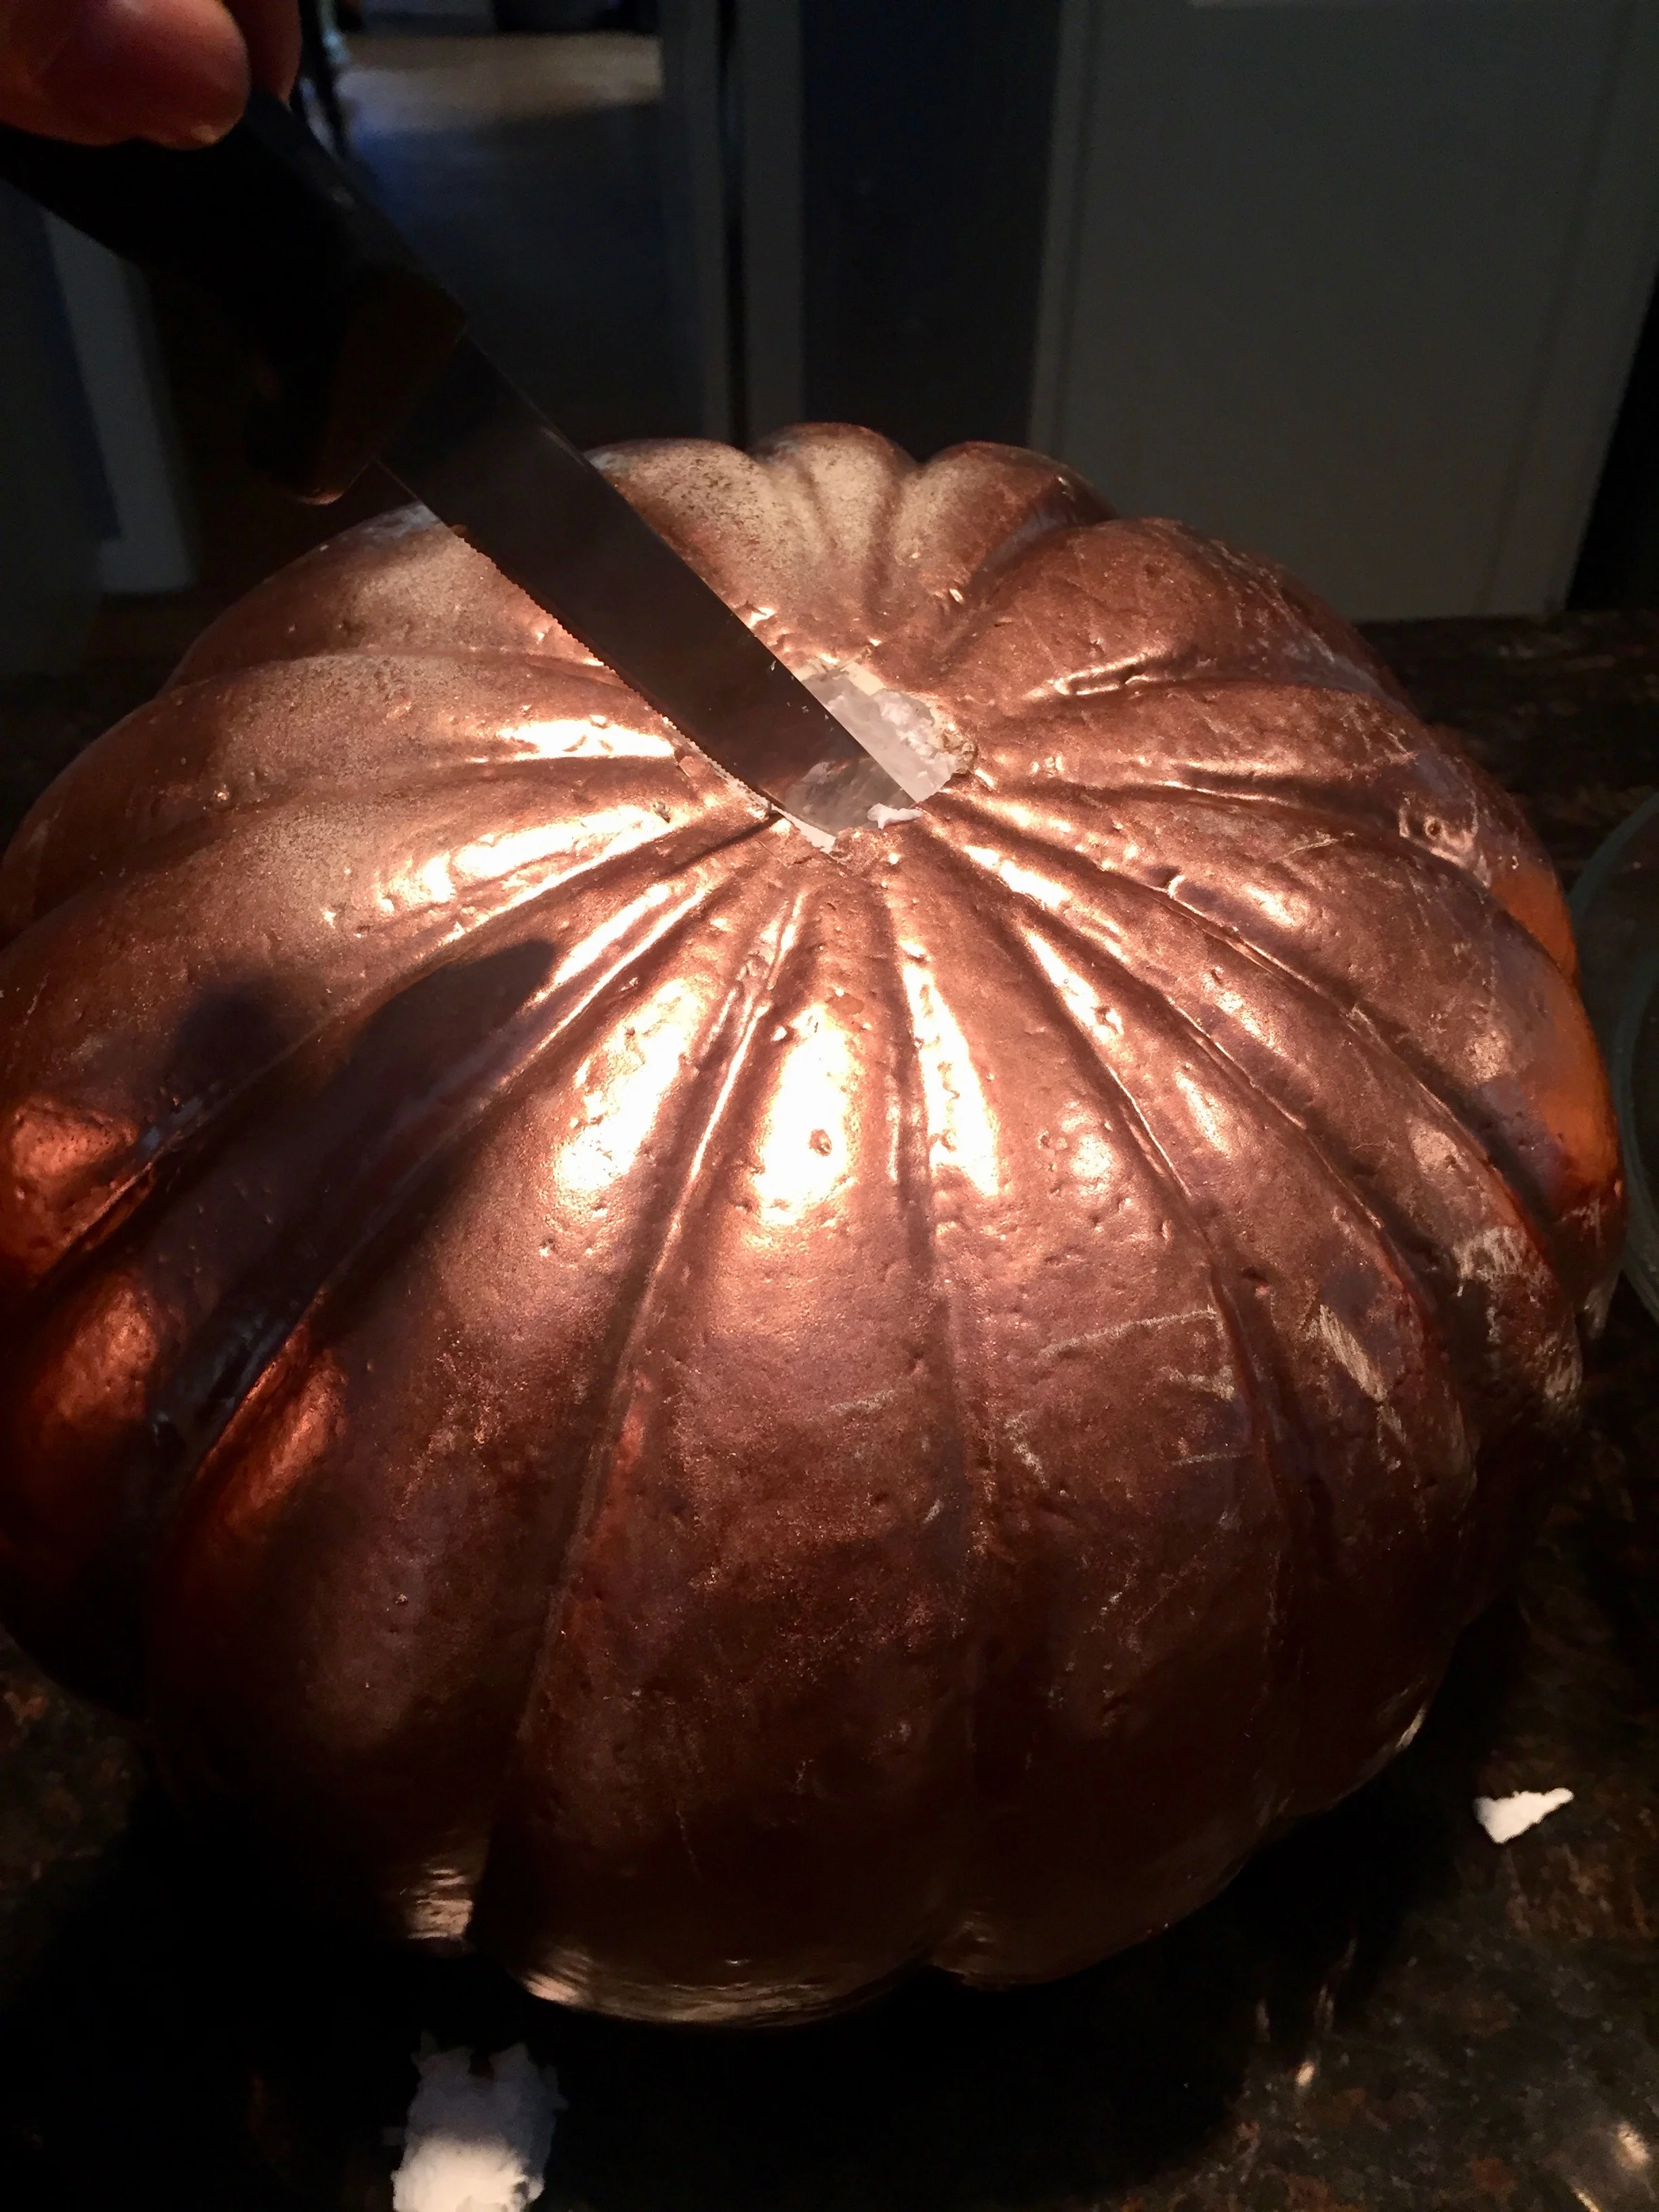
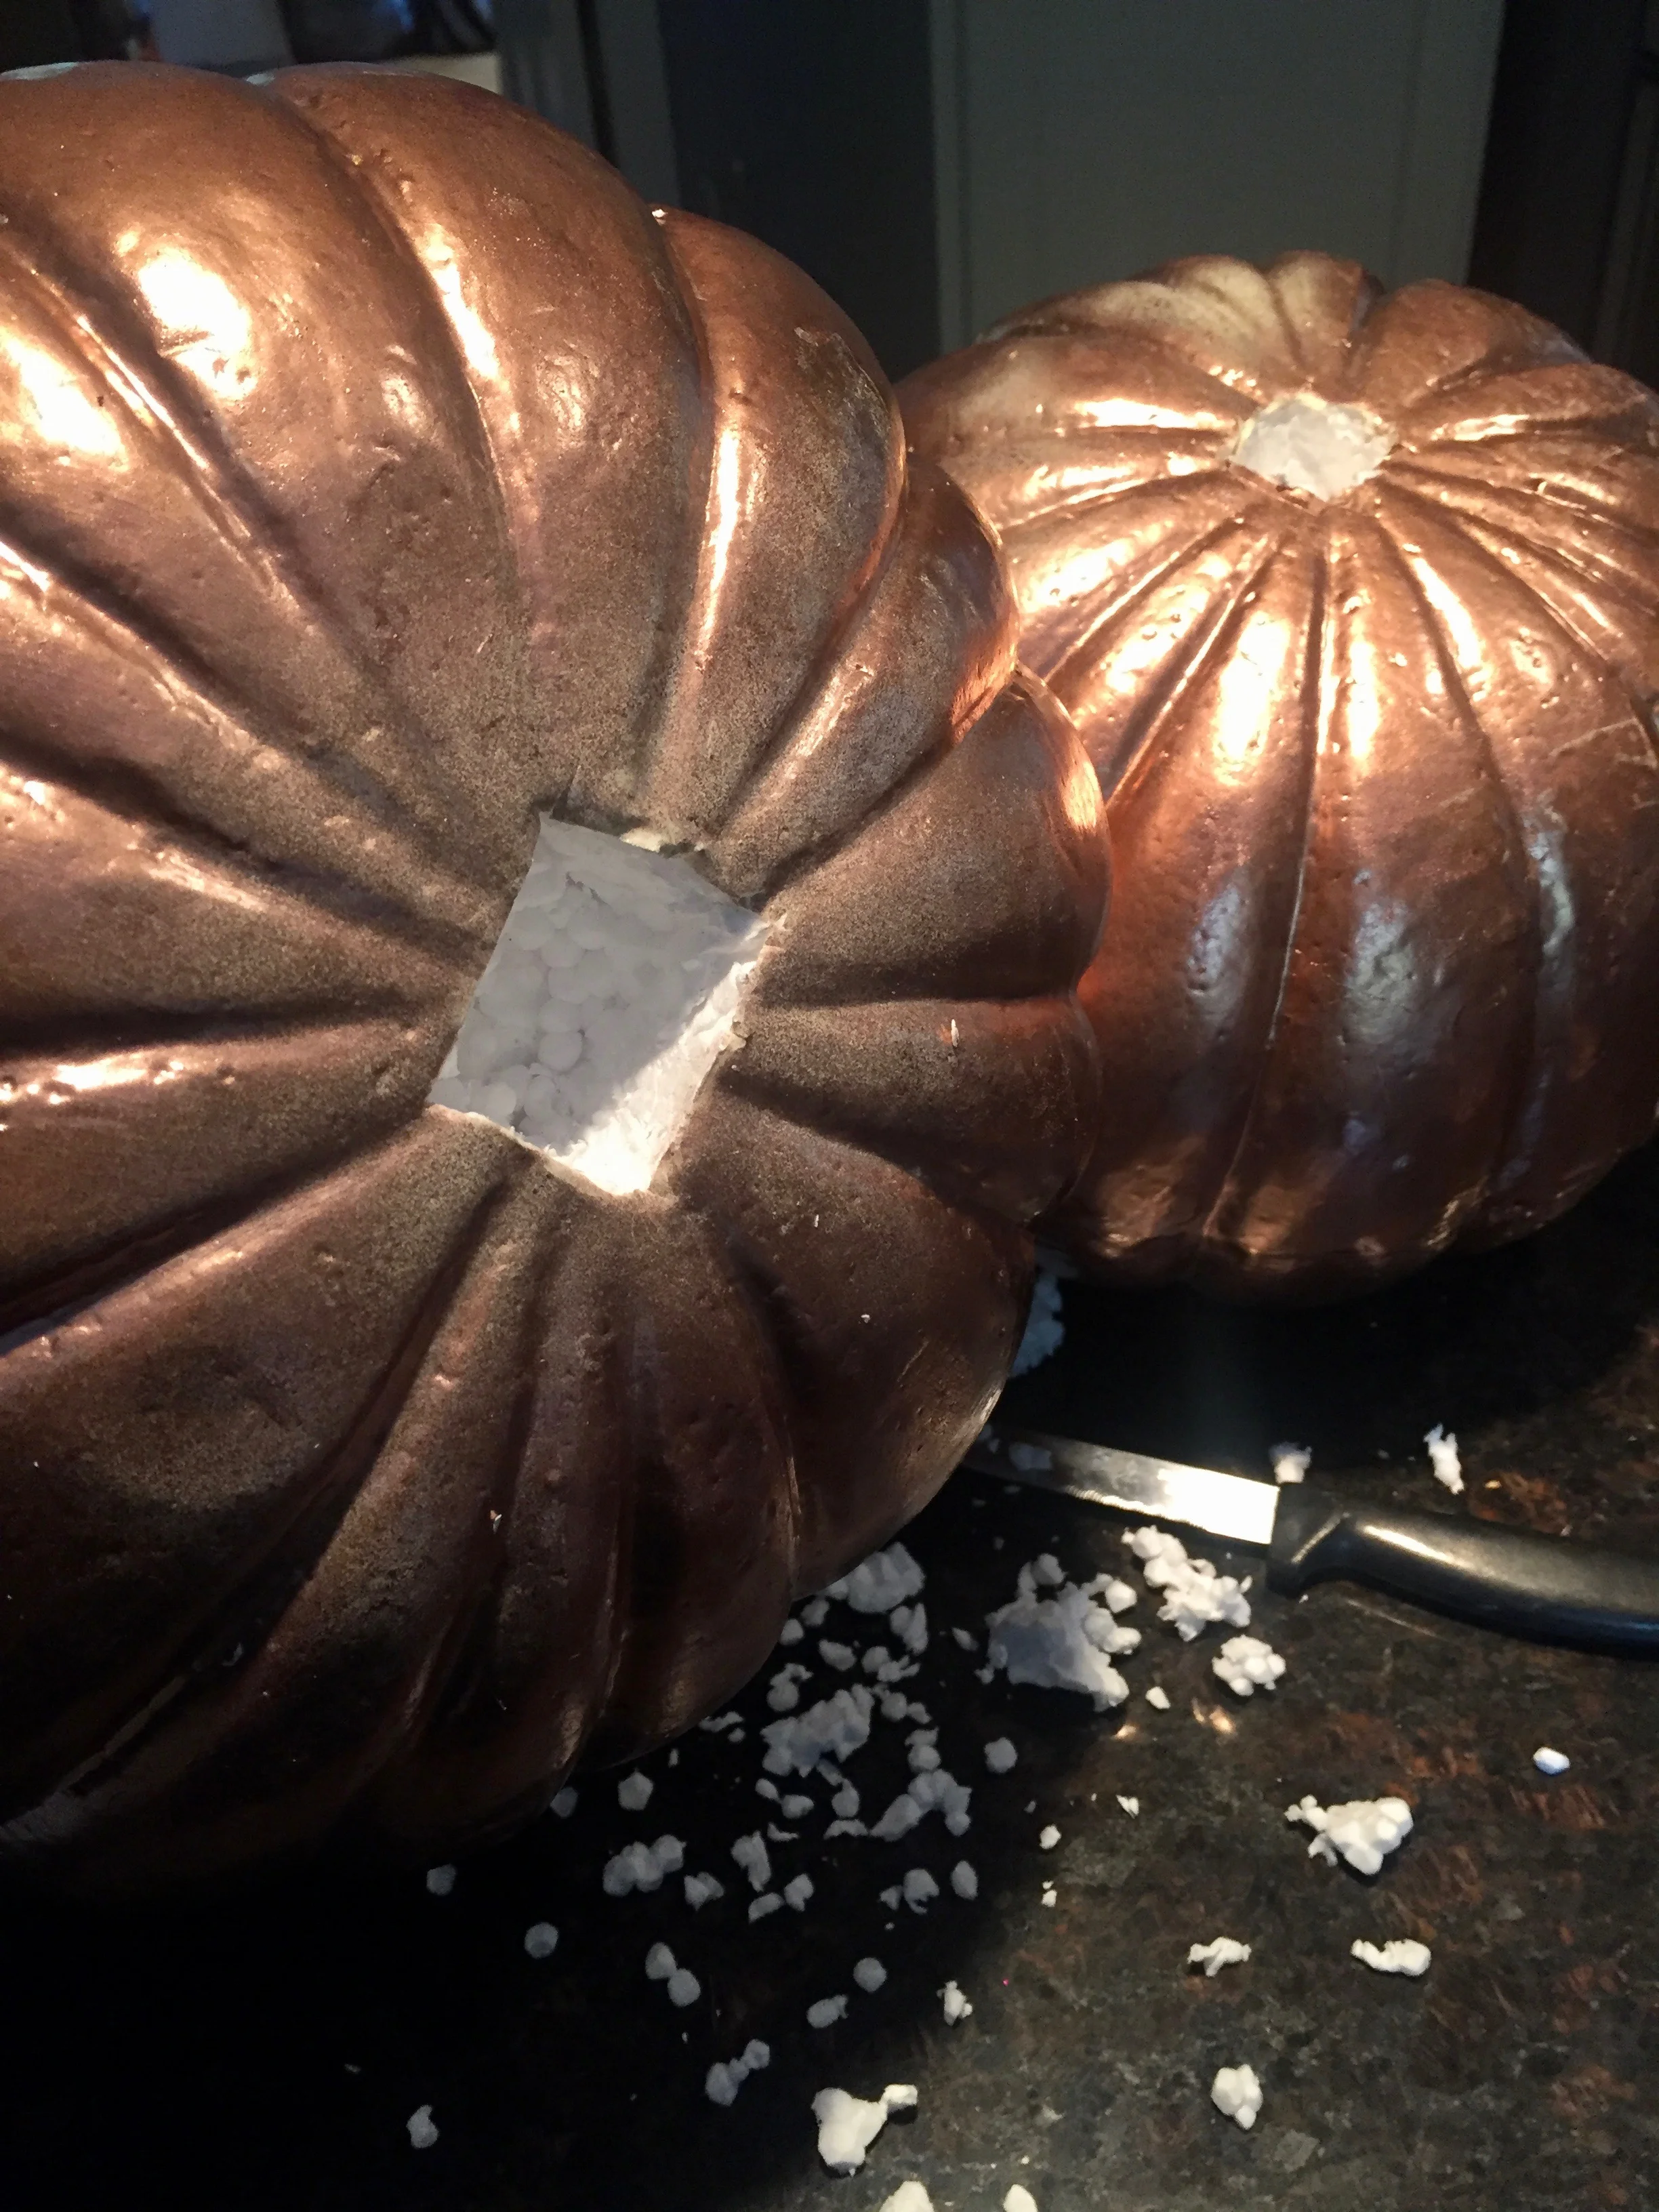
To create the topiary, all I did was cut squares out of the bottom of the pumpkin, large enough to fit the stem of the next size pumpkin on top.
These pumpkins were painted in copper.
Since I was on a role and into my fun crafting zone, I forgot to take photos of the actual stacking of the pumpkins, but it was simple with these pumpkins. I chose not to adhere them together since I know I like to re-use and re-purpose crafted holiday items. Luckily I didn’t since as you can see from the photos, I only used two pumpkins vs three at our new home. I might end up using all three, especially for our Halloween party if I choose to keep them there with a couple ravens or spiders thrown in. Check back later to see our 2018 Halloween party photos. I am currently editing past Halloween party photos to share with you here and I hope to have them up soon.
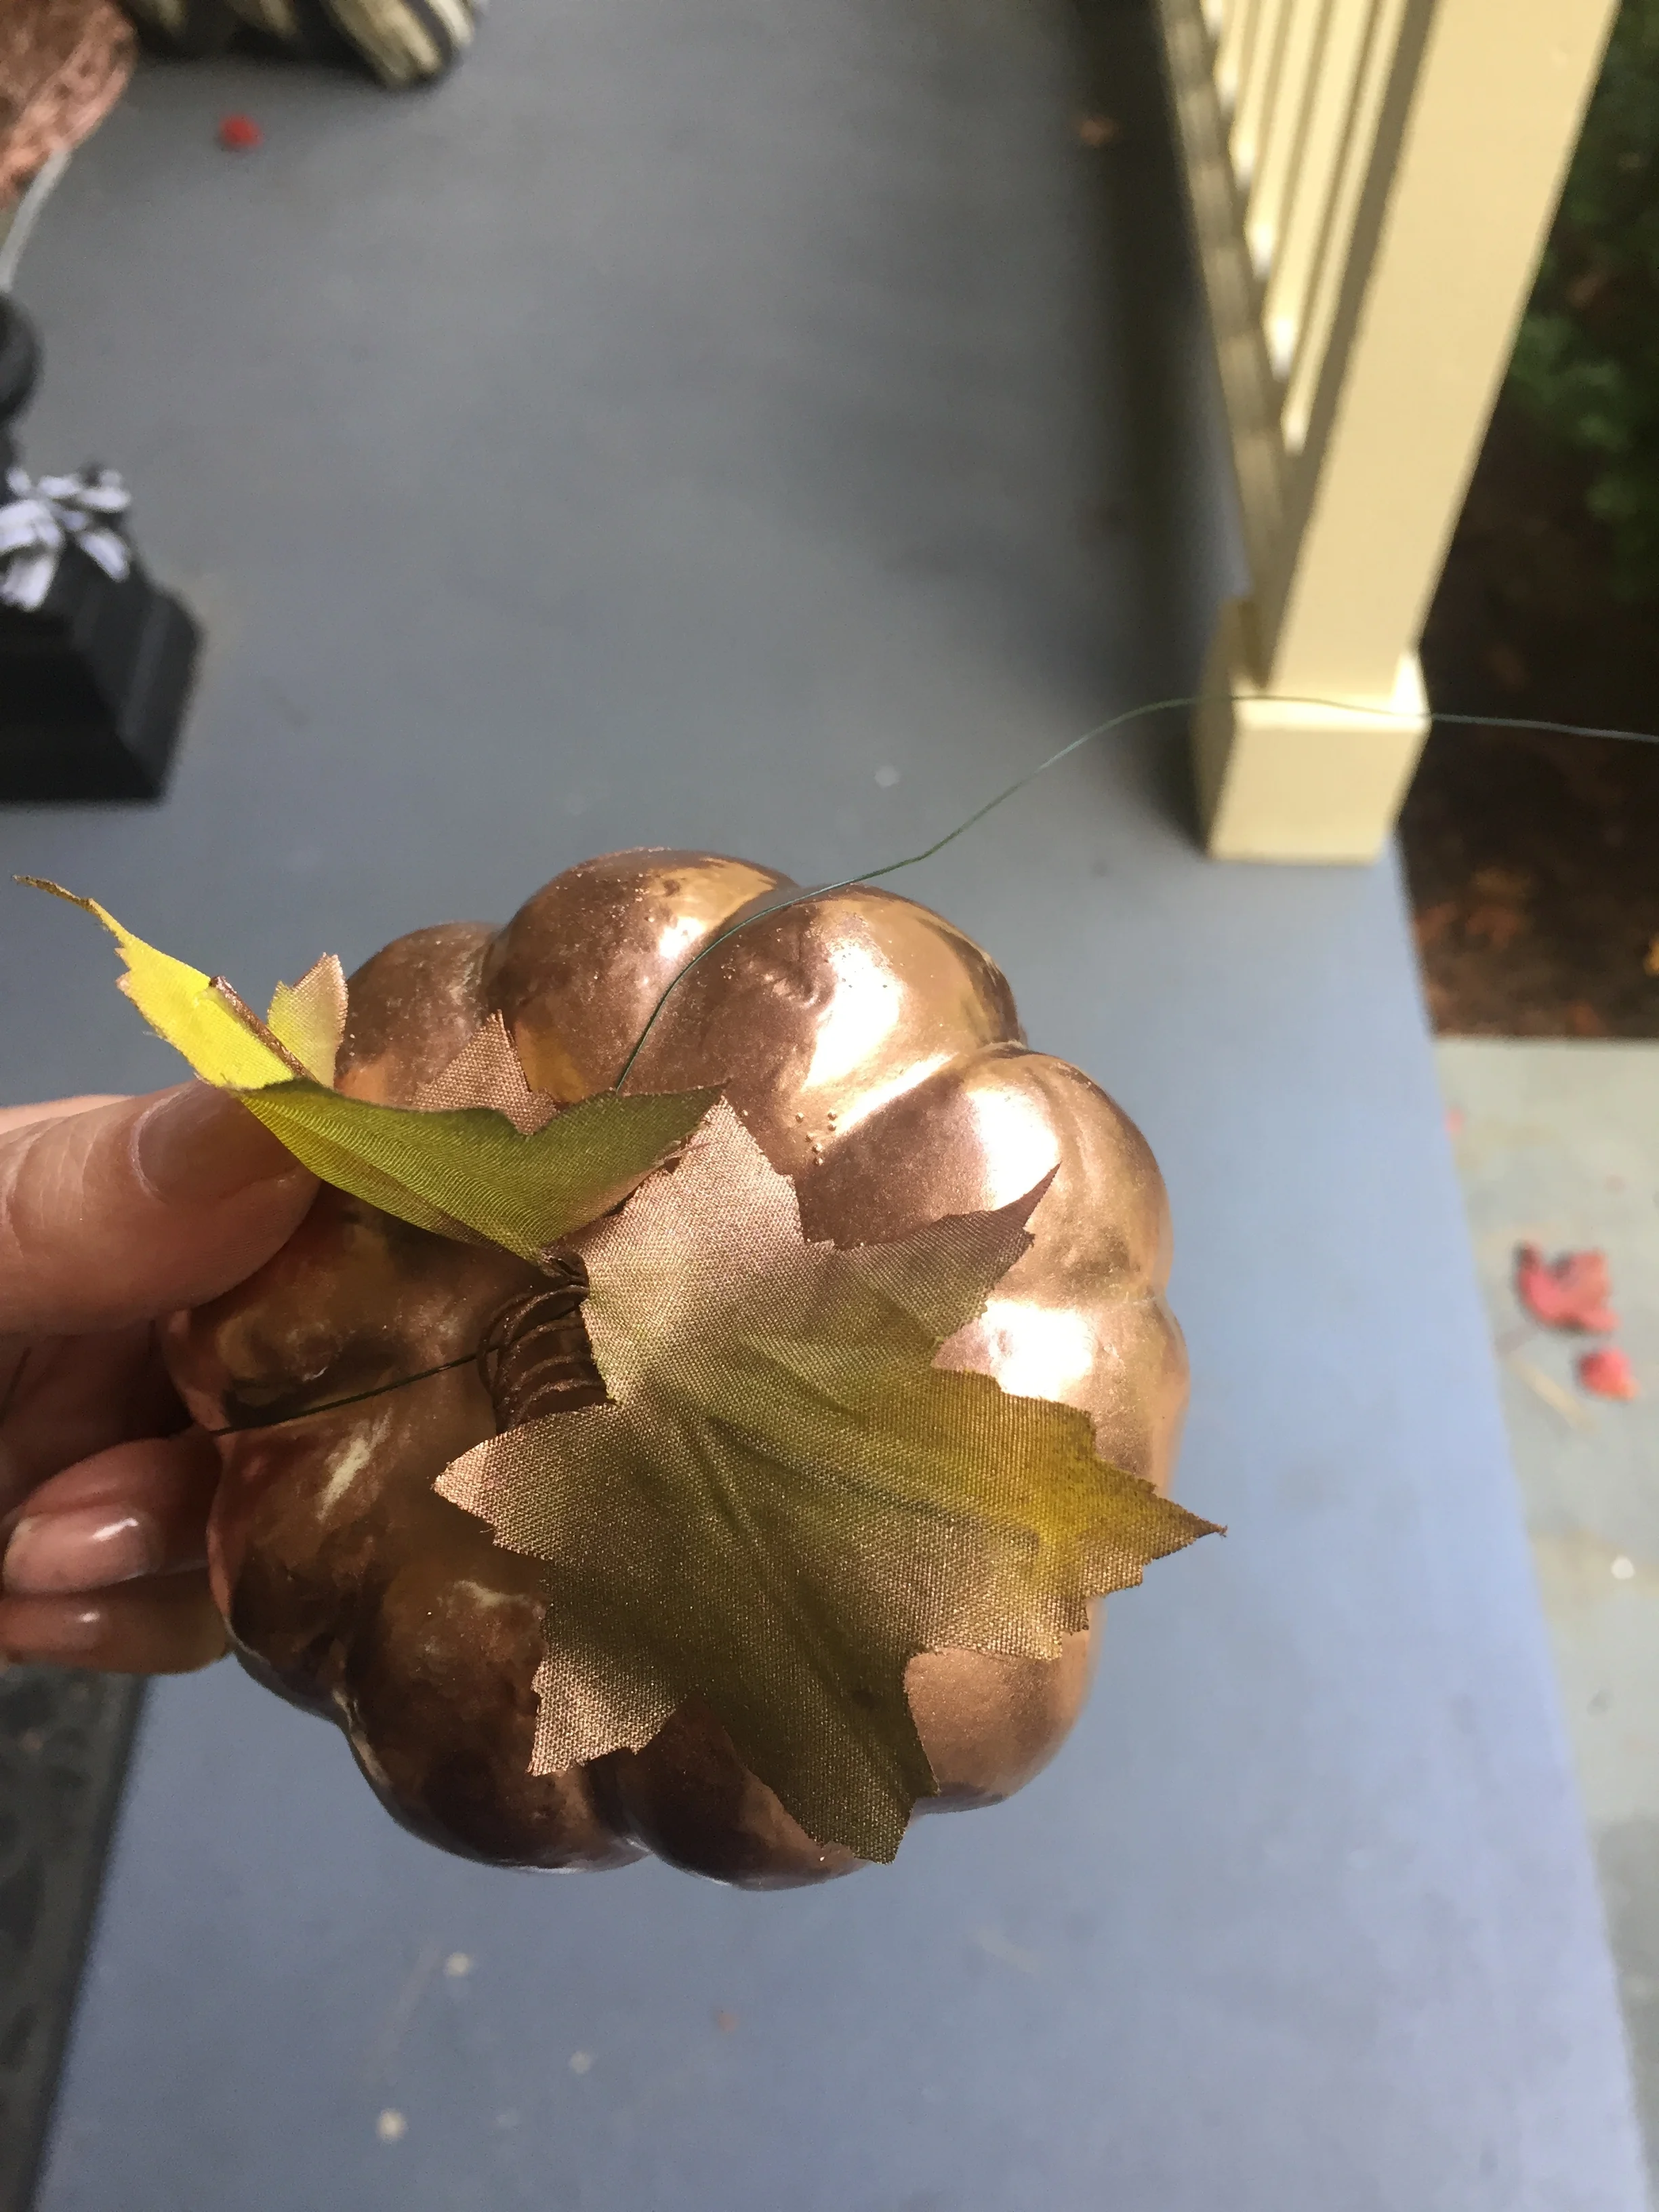
Even our mini pumpkins got sprayed. I used them on a wreath and around our home.
